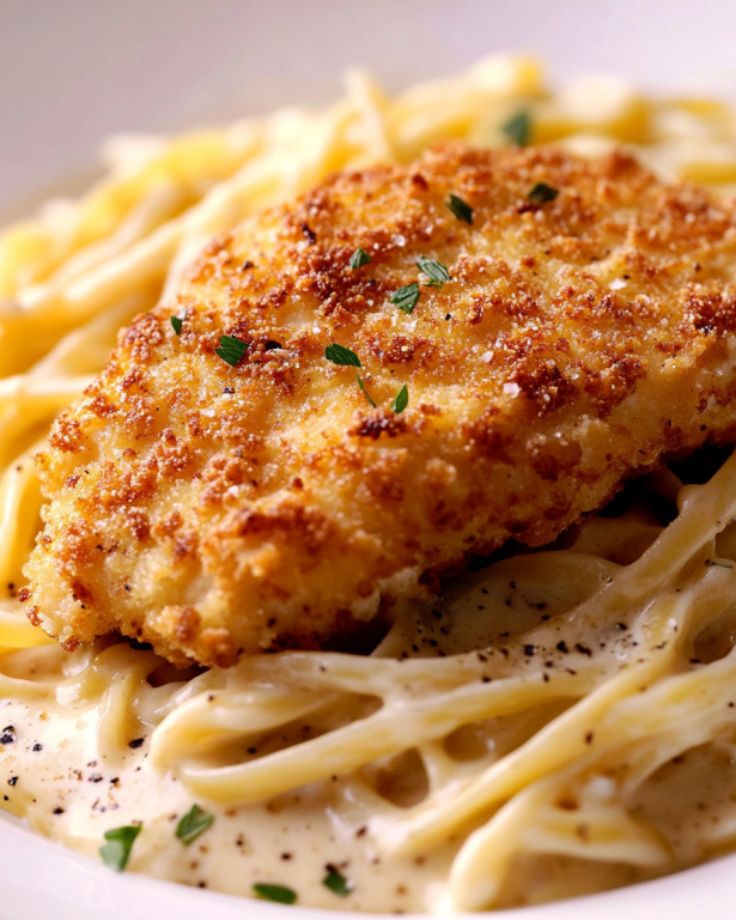
Craving Longhorn’s Parmesan Crusted Chicken but don’t want to leave home?
This easy, copycat recipe brings that perfect balance of crispy, cheesy crust and juicy, tender chicken straight to your kitchen!
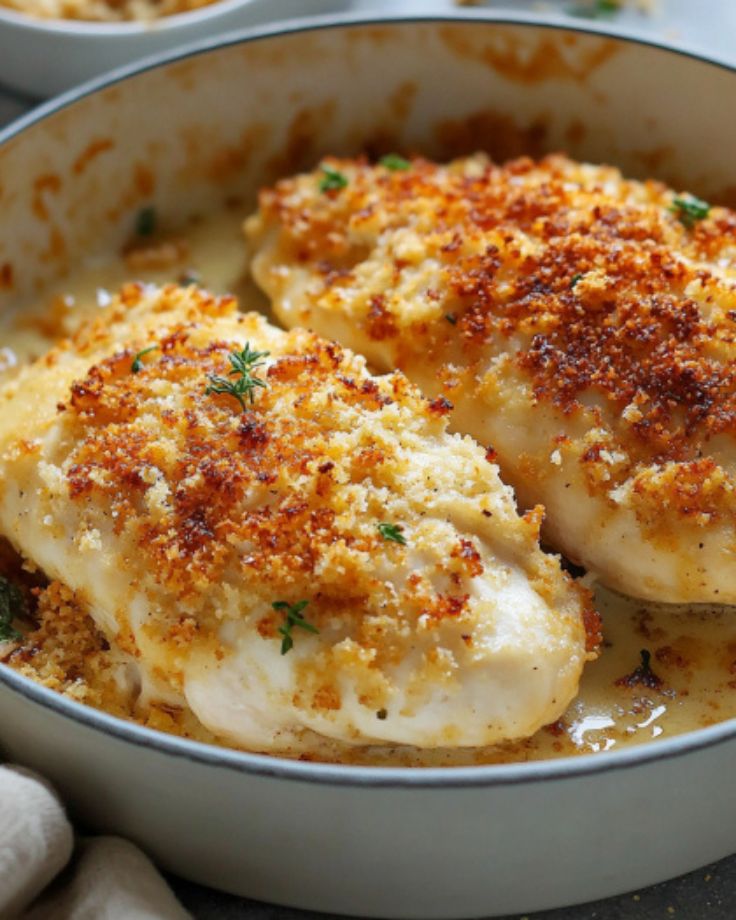
It’s marinated for flavor, seared for that golden-brown crisp, and topped with a mouth-watering Parmesan crust.
Perfect for a cozy dinner or impressing guests without the hassle of a restaurant trip.
Let’s dive into the recipe that everyone’s talking about!
For the Chicken:
- Chicken Breasts – Skinless, boneless, and pounded to about 1/2 inch thickness for even cooking.
- Salt and Pepper – To taste, for seasoning the chicken.
- Vegetable Oil – Used for searing the chicken in the skillet.
For the Marinade:
- Olive Oil – Adds richness to the marinade.
- Ranch Dressing – Adds creaminess and flavor.
- Worcestershire Sauce – For depth of flavor.
- Distilled White Vinegar – Provides a tangy kick.
- Lemon Juice – Adds a fresh citrusy flavor.
- Minced Garlic – For savory, aromatic flavor.
- Black Pepper – Adds seasoning to the marinade.
For the Parmesan Crust:
- Parmesan Cheese – Chopped into bits, it provides a rich and salty crust.
- Provolone Cheese – Chopped into bits for a smooth, melty texture.
- Ranch Dressing – Used to bind the cheeses together for the crust.
- Melted Butter – Adds richness and helps crisp the breadcrumbs.
- Panko Breadcrumbs – For a crunchy, golden crust.
- Garlic Powder – Adds a savory kick to the crust.

Copycat Longhorn Parmesan Crusted Chicken
Ingredients
For the Chicken:
- 4 skinless, boneless chicken breasts
- Salt and pepper, to taste
- 3 tbsp vegetable oil
For the Marinade (or use Italian Salad Dressing as a shortcut):
- ⅓ cup olive oil
- ⅓ cup ranch dressing
- 2 tbsp Worcestershire sauce
- 1 tsp distilled white vinegar
- 1 tsp lemon juice
- 1 tbsp minced garlic
- ½ tsp black pepper
For the Parmesan Crust:
- ½ cup chopped Parmesan cheese
- ½ cup chopped Provolone cheese
- 6 tbsp buttermilk ranch dressing (or regular ranch)
- 4 tbsp melted butter
- ¾ cup panko breadcrumbs
- 2 tsp garlic powder
Instructions
- Prepare the Chicken:In a bowl, whisk together the olive oil, ranch dressing, Worcestershire sauce, vinegar, lemon juice, minced garlic, and black pepper until well combined.Place the chicken breasts in a gallon freezer bag, seal it, and use a meat tenderizer to pound the chicken to about 1/2-inch thickness. The chicken will plump up while cooking.Season both sides of the chicken with salt and pepper, if desired.Pour the marinade into the bag with the chicken, seal the bag, and refrigerate for at least 30 minutes or overnight for more flavor.
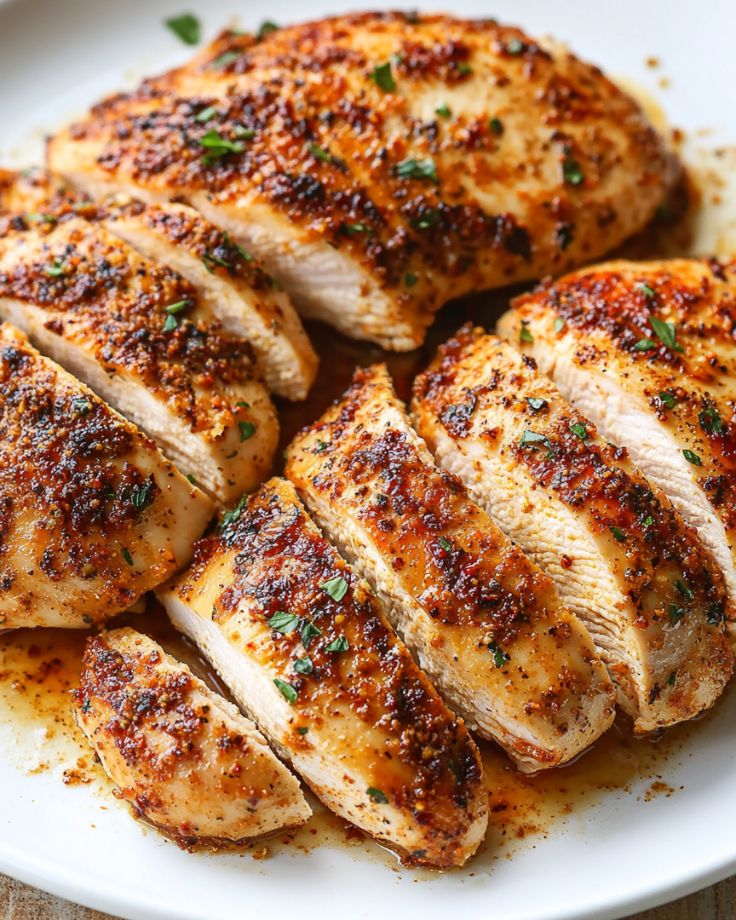
- Cook the Chicken:Heat the vegetable oil in a skillet over medium-high heat. (A cast iron skillet works best for a nice sear.)Sear the chicken on both sides for 4-5 minutes until golden brown and cooked through. Avoid moving the chicken while it’s cooking to get a nice sear.Once cooked, transfer the chicken to a clean skillet or baking sheet, tent it with foil to keep it warm.
- Make the Parmesan Crust:Preheat the oven to broil at 450°F.In a bowl, mix together the Parmesan cheese, Provolone cheese, and ranch dressing. Microwave in 15-second increments, stirring in between, until melted and slightly lumpy.Spread the melted cheese mixture over the top of each piece of chicken.In a separate bowl, combine the melted butter, garlic powder, and panko breadcrumbs. Spoon this mixture on top of the cheese layer.Broil the chicken for 3-4 minutes, watching closely until the top starts to brown slightly.
- Serve and Enjoy:Serve the Parmesan Crusted Chicken with mashed potatoes or your favorite sides.
Notes
- Cheese Substitutes: If you don't have Provolone, you can substitute with Swiss, mozzarella, or Munster cheese.
- Quick Marinade: Use Italian Salad Dressing instead of making the marinade from scratch for a faster version.
- Preheat the oven to 425°F.
- Place the chicken in a lightly greased oven-safe dish with 2 tablespoons of water. Bake for 15-18 minutes (depending on thickness).
- Follow the same steps for adding the Parmesan crust as mentioned above.
- Preheat the grill to medium-high heat and cook the chicken for 4-7 minutes per side, depending on thickness.

- Can I use pre-shredded cheese instead of freshly grated Parmesan?
If you can, go for freshly grated Parmesan. Pre-shredded Parmesan doesn’t melt as smoothly and can affect the texture of the crust. But if convenience is key, it’ll still work!
- How can I make the chicken gluten-free?
Swap the panko breadcrumbs for gluten-free breadcrumbs or crushed gluten-free crackers. This small change ensures you get the same crispy crust without the gluten.
- Can I bake the chicken instead of pan-searing it?
Yes, absolutely! Just bake the chicken at 400°F (200°C) for 15-20 minutes, and then add the Parmesan crust for the last few minutes. You’ll still get a crispy, cheesy topping without frying.
- How do I prevent the breading from falling off?
Be sure to press the breading onto the chicken gently but firmly before cooking. Let the chicken rest for about 10 minutes after breading to help the coating set before searing.
- Can I use chicken thighs instead of breasts?
Definitely! Boneless, skinless chicken thighs work great in this recipe. They’re a bit juicier and have more flavor, just adjust your cooking time based on thickness.