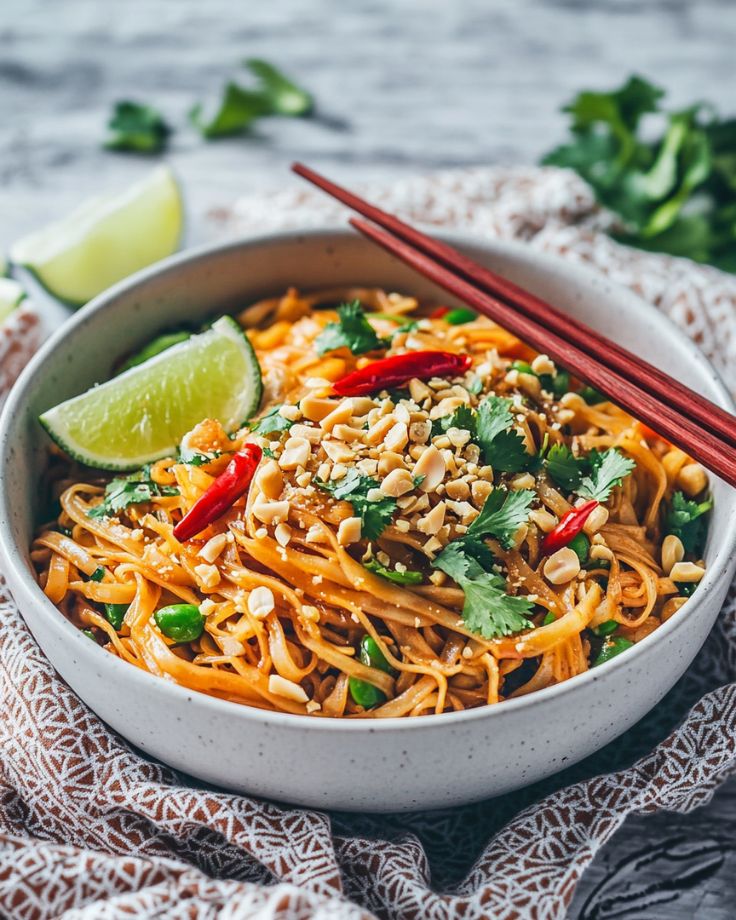
Quick & Flavor-Packed Pad Thai in 30 Minutes!
Looking for a fast, fresh, and utterly delicious meal that packs a punch of flavors?
This Pad Thai recipe is your answer! With just a handful of ingredients and under 30 minutes, you can enjoy restaurant-quality Pad Thai right at home.
Whether you’re craving shrimp, chicken, or tofu, this dish is customizable to suit your taste.
Plus, the tangy homemade sauce ties everything together perfectly—you’re going to love it!
For Pad Thai
- Rice Noodles – The base of the dish, these tender noodles soak up the sauce and flavors beautifully.
- Oil – For stir-frying everything together, helping the ingredients cook evenly.
- Garlic – Adds aromatic flavor to the dish and enhances the savory taste.
- Protein – You can use shrimp, chicken, or extra-firm tofu for this recipe, based on your preference.
- Eggs – Scrambled and tossed in for extra richness and texture.
- Bean Sprouts – For crunch and a fresh texture that balances the noodles.
- Red Bell Pepper – Adds color, sweetness, and a mild crunch.
- Green Onions – Chopped, for a fresh, slightly sharp flavor.
- Peanuts – Dry roasted peanuts add a crunchy, savory element to the dish.
- Limes – To garnish, providing a zesty contrast to the rich sauce.
- Fresh Cilantro – For garnish, giving the dish a fresh and herby taste.
For Pad Thai Sauce
- Fish Sauce – Adds a salty, umami-rich flavor to the sauce.
- Soy Sauce – A lighter soy sauce adds depth and seasoning to the sauce.
- Brown Sugar – Sweetens the sauce, balancing out the salty and sour notes.
- Rice Vinegar – Provides acidity and brightness to the sauce.
- Sriracha – Adds heat and spiciness to the sauce, adjustable to your preference.
- Peanut Butter – Optional, but it adds a creamy texture and a nutty flavor to the sauce.
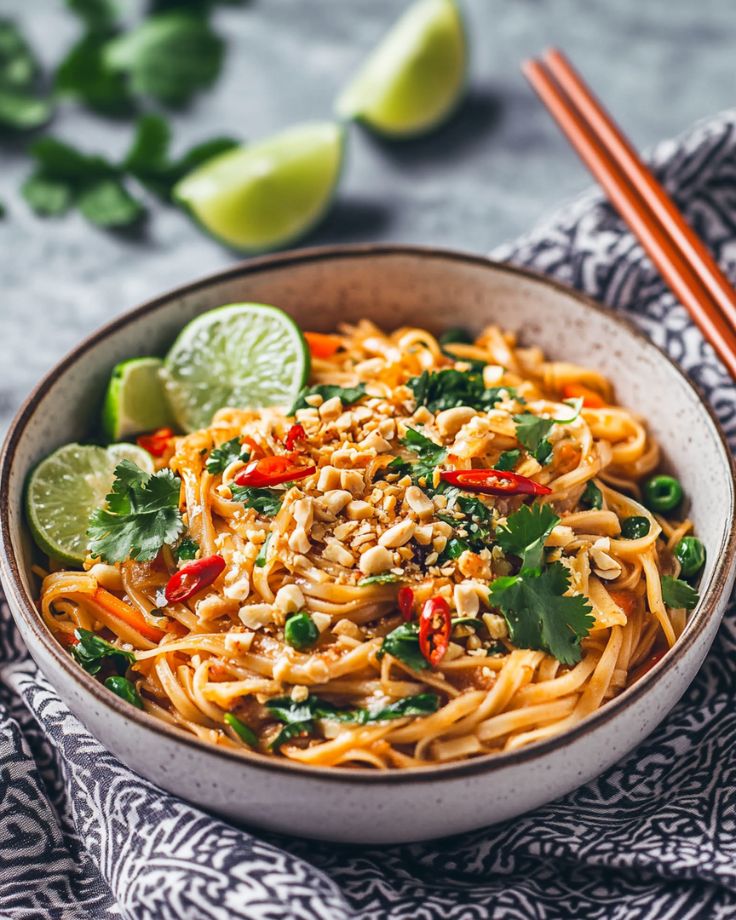
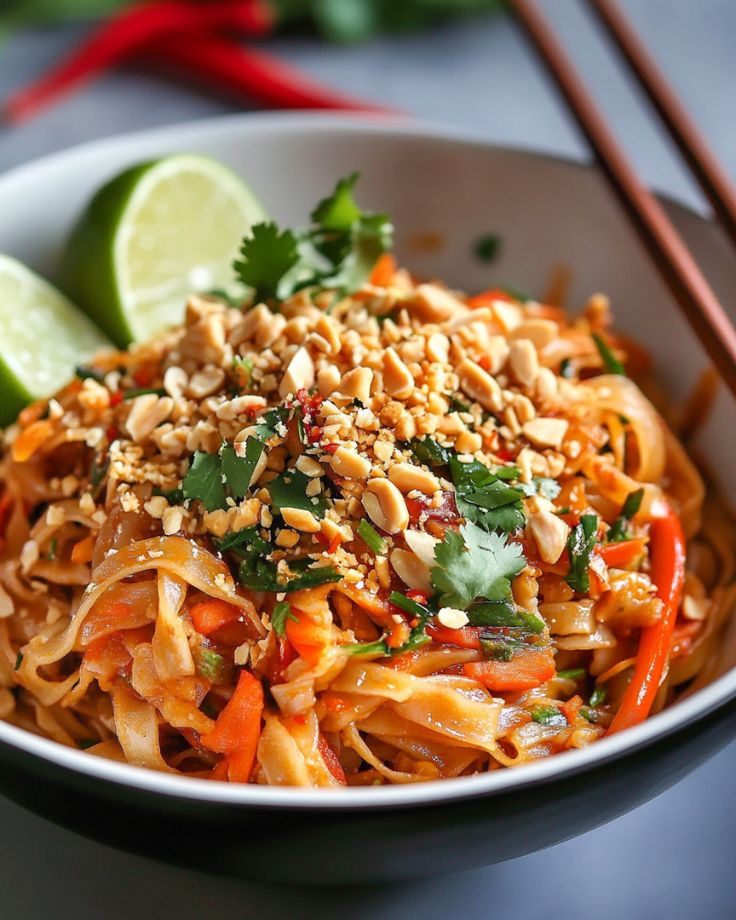
Easy Pad Thai
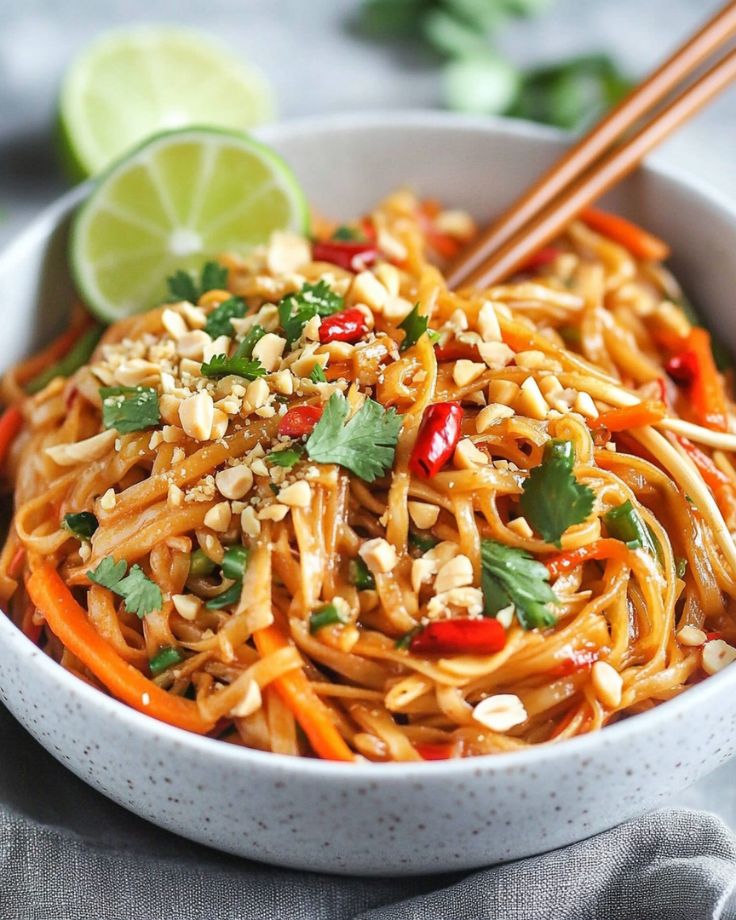
This flavorful Pad Thai is a delightful mix of rice noodles, chicken, shrimp, tofu, scrambled eggs, peanuts, and fresh veggies all tossed in a delicious homemade sauce. Ready in under 30 minutes, it's a tasty and quick meal!
Ingredients
- 8 oz flat rice noodles
- 3 tbsp oil
- 3 cloves garlic, minced
- 8 oz shrimp, chicken, or extra-firm tofu (cut into small pieces)
- 2 eggs
- 1 cup fresh bean sprouts
- 1 red bell pepper, thinly sliced
- 3 green onions, chopped
- ½ cup dry roasted peanuts (reserve some for topping)
- 2 limes
- ½ cup fresh cilantro, chopped
For the Pad Thai Sauce:
- 3 tbsp fish sauce
- 1 tbsp low-sodium soy sauce
- 5 tbsp light brown sugar
- 2 tbsp rice vinegar (or tamarind paste)
- 1 tbsp Sriracha hot sauce (adjust to taste)
- 2 tbsp creamy peanut butter (optional)
Instructions
- Cook the Noodles: Prepare the rice noodles according to the package directions, cooking until tender. Rinse them under cold water to stop the cooking process. Set aside.
- Make the Sauce: In a bowl, whisk together the fish sauce, soy sauce, brown sugar, rice vinegar (or tamarind paste), Sriracha, and peanut butter (if using). Set aside.
- Stir Fry:Heat 1½ tbsp oil in a wok or large skillet over medium-high heat.Add the shrimp, chicken, or tofu, garlic, and bell pepper. Cook shrimp for 1-2 minutes per side, or until pink. If using chicken, cook for 3-4 minutes, flipping once, until fully cooked through.Push the protein and veggies to the side of the pan, and add a little more oil. Add the beaten eggs and scramble them, breaking them into small pieces as they cook.
- Combine: Add the cooked noodles, prepared sauce, bean sprouts, and peanuts to the pan. Toss everything together until well combined.
- Serve: Garnish with green onions, extra peanuts, cilantro, and lime wedges. Serve immediately.
Notes
- Make Ahead: Chop your protein and veggies ahead of time. You can also prepare the sauce and refrigerate it until you're ready to cook.
- Tamarind Paste: For an authentic flavor, use tamarind paste instead of vinegar (2 tbsp). You can find tamarind paste online or in international grocery stores.
- Vegan/Vegetarian: Skip the egg and use tofu, and replace the fish sauce with extra soy sauce.
- Peanut Butter: A tablespoon of peanut butter gives the sauce a creamy texture and flavor boost, but it's optional.
- Gluten-Free: Use gluten-free soy sauce to make this dish gluten-free.
- Storage : Store any leftovers in the fridge and enjoy within 2-3 days.
- Can I use a different type of noodle?
Absolutely! If rice noodles aren’t your thing, feel free to swap them out for glass noodles, or even spaghetti if that’s what you’ve got on hand. Just make sure to adjust the cooking time accordingly to avoid overcooking. - What if I can’t find tamarind paste?
No worries! If tamarind paste is a little tricky to find, just use a mixture of lime juice and brown sugar. It’ll give you that perfect balance of tangy and sweet, just like the original! - How can I make it spicier?
Crank up the heat by adding more Sriracha to the sauce! If you like it extra spicy, toss in some fresh chopped chilies or sprinkle red pepper flakes while cooking. - Can I prepare the sauce ahead of time?
Yes! In fact, making the sauce ahead of time actually enhances the flavors. Just store it in the fridge for up to a week and you’re good to go when you’re ready to cook. - How do I stop the noodles from sticking together?
Great question! Rinse your noodles under cold water after cooking, and try not to overcook them. It also helps to stir them well while cooking, and give them enough space to cook evenly in the pan.