Craving the irresistible flavors of chicken shawarma, but not in the mood for a trip to the streets?
Look no further—this easy recipe brings all the magic of this iconic Middle Eastern dish straight to your kitchen.
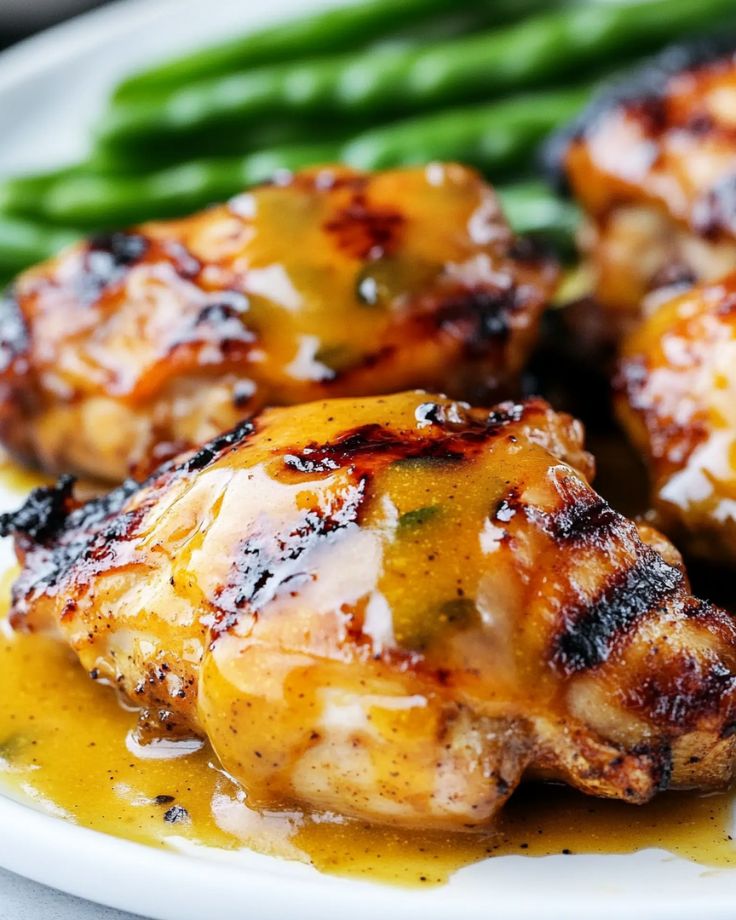
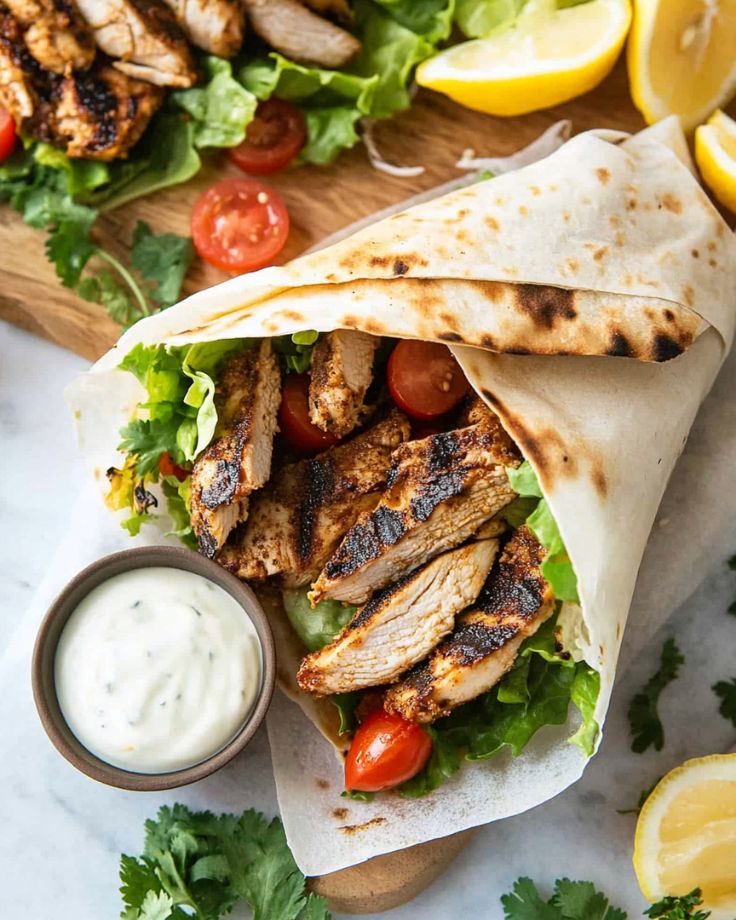
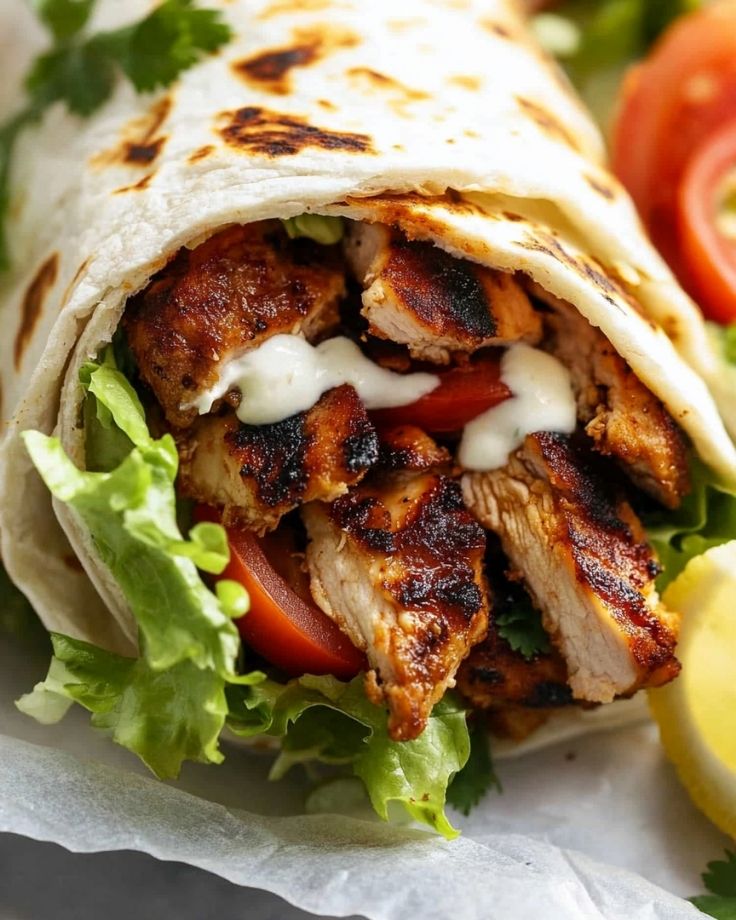
With perfectly marinated chicken thighs, roasted to tender, juicy perfection, and topped with a creamy, tangy yogurt sauce, it’s the ultimate comfort food you’ll want to make over and over.
Let’s get cooking!
For Chicken Shawarma:
- Olive Oil – Use a good quality extra-virgin olive oil for the marinade to add rich flavor.
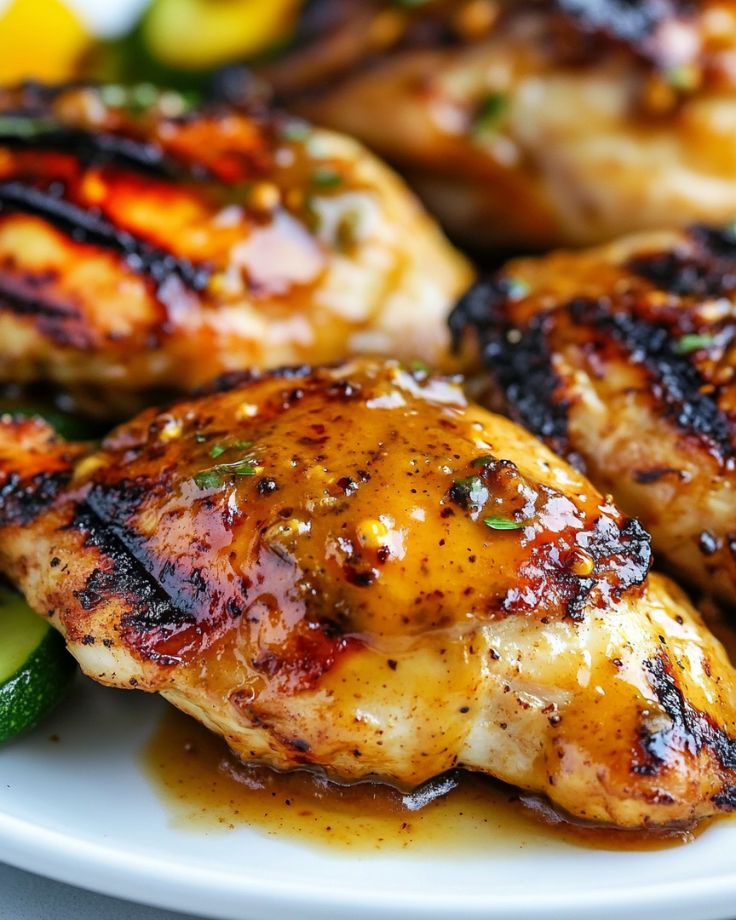
- Spices – Shawarma is all about the spice mix! You’ll need cumin, coriander, turmeric, cinnamon, and cayenne pepper for that signature bold flavor.
- Fresh Garlic and Lemon Juice – These two ingredients are key for bringing freshness and zest to the marinade.
- Chicken Thighs – For maximum flavor and juiciness, chicken thighs are a must-have over chicken breasts in this recipe.
- Onion – Roasting the onion alongside the chicken adds extra flavor and sweetness to the dish. Optional, but highly recommended.
For Yogurt Sauce:
- Greek Yogurt – This creamy base brings the perfect coolness to balance out the spice.
- Lemon Juice – Freshly squeezed lemon juice adds a tangy kick to the sauce.
- Olive Oil – A bit more olive oil helps to smooth out the yogurt and gives the sauce a silky texture.
- Garlic – Minced garlic brings that savory punch to the sauce.
- Kosher Salt and Red Pepper Flakes – Season to taste. The red pepper flakes add a little extra heat if you like things spicier.
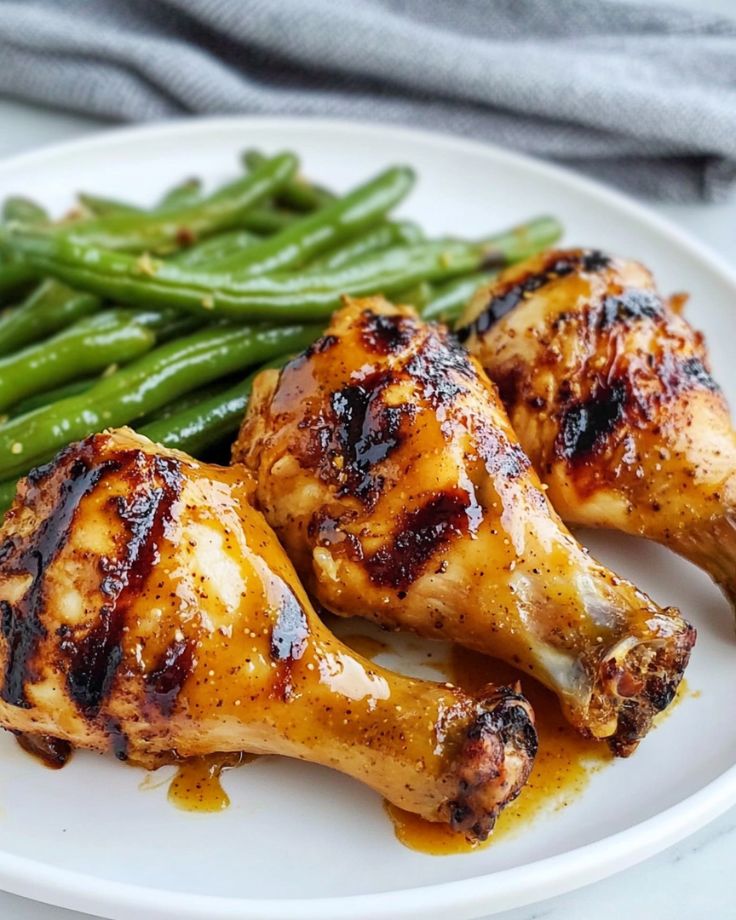
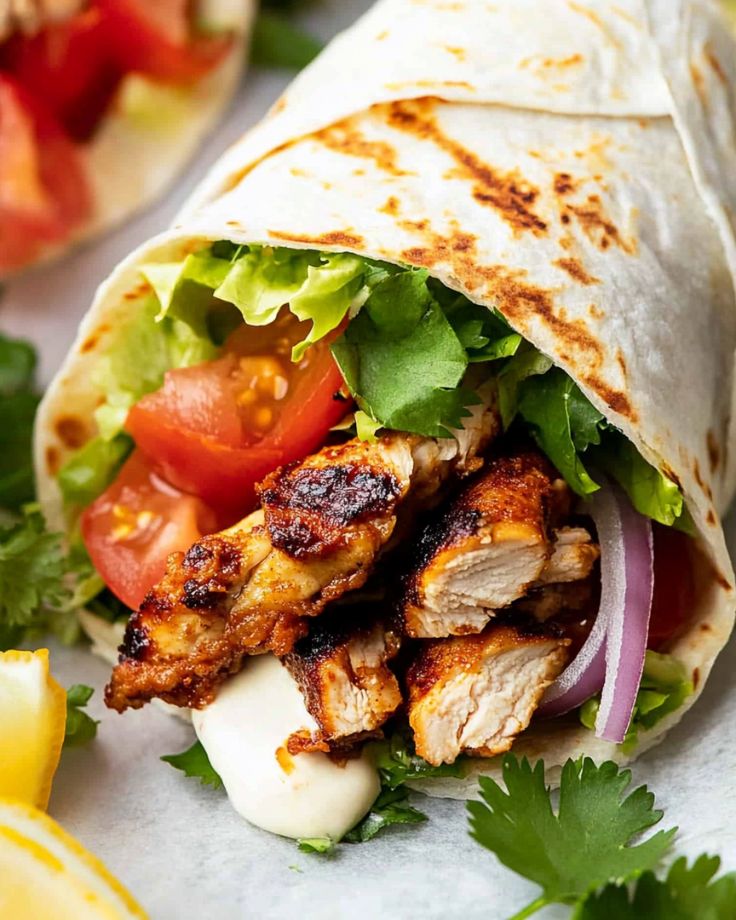
For Serving:
- Pitas – Warmed for serving, or use as a base for a chicken shawarma bowl.
- Chopped Romaine – For crunch and freshness.
- Cherry Tomatoes and Cucumber – Adds a light and refreshing touch to your shawarma.
- Can I use chicken breasts instead of thighs?
Yes, you absolutely can! Chicken breasts will work fine if that’s your preference. Just keep an eye on the cooking time to avoid drying them out. Thighs are juicier and more flavorful, but breasts can still deliver a tasty shawarma if you marinate them well!
- How long do I need to marinate the chicken?
For best results, let the chicken marinate for at least 2 hours. But if you’re in a hurry, even 30 minutes will still give you great flavor. If you have the time, though, letting it marinate overnight really enhances the taste!
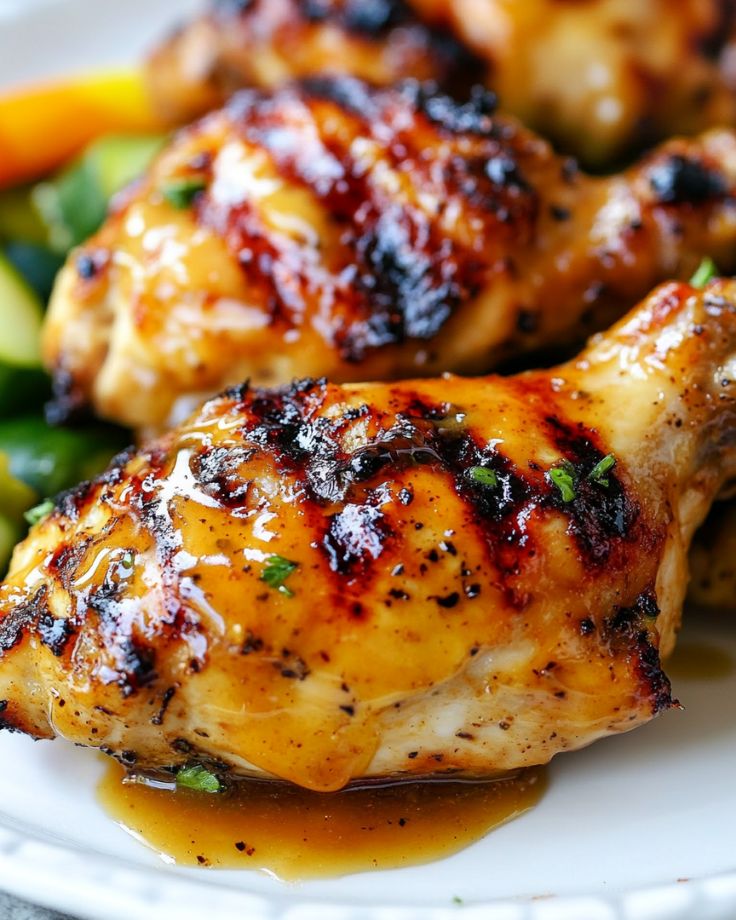
- Can I cook the chicken on the grill instead of in the oven?
Definitely! If you want that smoky, grilled flavor, go ahead and cook the chicken on a grill. Just make sure it’s cooked through (165°F internally) and enjoy that extra char!
- What if I don’t have all the spices listed?
No worries! Shawarma is all about those key spices like cumin, coriander, and turmeric. If you’re missing one or two, just make sure you’ve got the main ones, and it’ll still be super flavorful. A little flexibility never hurts!
- How can I make the yogurt sauce spicier?
Love a little heat? Simply add some cayenne pepper or a pinch of chili flakes to the yogurt sauce for an extra kick. Adjust it to your spice preference!