Grilled Chicken Margherita – Your New Go-To 30-Minute Dinner
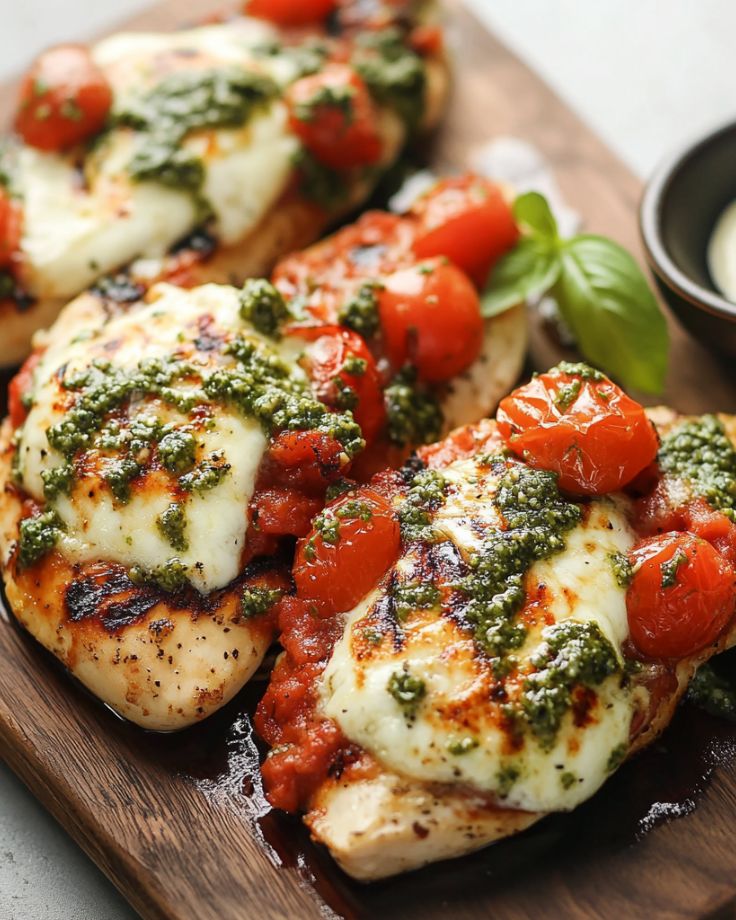
Juicy, smoky grilled chicken, gooey melted mozzarella, fresh basil pesto, and a burst of cherry tomatoes—this Grilled Chicken Margherita is a restaurant-quality meal made right in your kitchen in just 30 minutes. It’s fast, fresh, and loaded with flavor, perfect for busy weeknights, impressing guests, or just treating yourself to something amazing.
If you love big flavors with minimal effort, this is the chicken recipe you’ll be making on repeat. Let’s fire up the grill and get started!
Grilled Chicken Margherita – A Simple & Flavor-Packed Delight
This Grilled Chicken Margherita is an absolute winner—tender, juicy chicken kissed by the grill, topped with melty mozzarella, fresh basil pesto, and a vibrant tomato garnish. It’s quick, fresh, and bursting with classic Italian flavors!
Ingredients
- 4 boneless, skinless chicken breasts (pounded to under 1 inch thick for even cooking)
- Salt & pepper to taste
- 2 tbsp olive oil
- 1 tsp garlic powder
- 1 tsp Italian seasoning (or mix ½ tsp oregano, ¼ tsp basil, ¼ tsp thyme)
- 4 slices fresh mozzarella cheese
- ½ cup basil pesto (store-bought is fine, but homemade is next-level!)
- ½ cup cherry tomatoes, halved
- 1 tbsp fresh lemon juice
- ½ cup fresh basil leaves, thinly sliced
- Freshly cracked black pepper
Instructions
- Season the Chicken: In a large bowl, toss the chicken with salt, pepper, olive oil, garlic powder, and Italian seasoning. Make sure every piece is well coated—this step locks in all the flavor!
- Grill to Perfection: Heat your grill (or stovetop grill pan) to medium-high. Cook the chicken for 6-8 minutes per side, until beautifully charred and cooked through.
- Melt That Mozzarella: Just before removing the chicken from the grill, top each piece with a slice of mozzarella. Close the lid for about a minute, letting that cheese turn into a glorious, melty blanket.
- Fresh Tomato Topping: While the chicken is grilling, mix cherry tomatoes, lemon juice, and basil in a small bowl. This fresh topping adds brightness to every bite!
- Assemble & Serve: Place the grilled chicken on a plate, spread about 3 tablespoons of pesto on each piece, then spoon over the tomato-basil mixture. Finish with a sprinkle of cracked black pepper. Serve immediately and enjoy!


