Craving Comfort with Bold Flavor?

If you’re in the mood for a rich, creamy chicken tikka masala that delivers all the vibrant flavors you love, this recipe has got you covered.
Perfect for those nights when you need something quick, satisfying, and full of spice, this tikka masala sauce is everything you crave after a long day or a night out.
It’s simple to make, bursting with flavor, and great for batch cooking—plus, it freezes like a dream!
Ready to indulge in the ultimate comfort food? Let’s get cooking!
For Chicken Tikka Masala
- Chicken – Skinless, boneless chicken breasts or thighs work great. Use whichever you prefer – both are tender and juicy when cooked in this sauce.
- Ghee – This clarified butter gives a rich, authentic flavor to the sauce. It’s a must for the traditional taste!
- Onion – A finely chopped onion creates the base for the sauce, adding sweetness and depth.
- Garlic – Fresh garlic is key to enhancing the aromatic flavor of the dish.
- Ground Cumin – A warm, earthy spice that’s essential in curry flavors.
- Ground Ginger – Adds a zesty kick to balance out the spices.
- Cayenne Pepper – For a touch of heat; adjust this to your spice tolerance.
- Ground Cinnamon – Gives the sauce warmth and a slightly sweet undertone.
- Ground Turmeric – This vibrant spice adds both color and a mild, earthy flavor.
- Tomato Sauce – Forms the base of the sauce with its tangy sweetness.
- Heavy Cream – Makes the sauce rich, creamy, and luxurious.
- White Sugar – A bit of sweetness to balance the savory spices.
- Paprika – Adds a smoky depth and rich color to the sauce.
- Vegetable Oil – For frying the chicken to a golden crisp.
- Curry Powder – Adds extra depth of flavor when cooking the chicken.
For the Sauce:
- Soy Sauce – Adds a salty, umami-rich flavor to the sauce.
- Brown Sugar – Balances the savory flavors with a touch of sweetness.
- Cornstarch – Used to thicken the sauce and give it a nice velvety texture.

Curry Stand Chicken Tikka Masala Sauce
Ingredients
- 2 tbsp ghee (clarified butter)
- 1 onion, finely chopped
- 4 garlic cloves, minced
- 1 tbsp ground cumin
- 1 tsp salt (or more to taste, optional)
- 1 tsp ground ginger
- 1 tsp cayenne pepper
- ½ tsp ground cinnamon
- ¼ tsp ground turmeric
- 1 can (14-ounce) tomato sauce
- 1 cup heavy whipping cream
- 1 tbsp white sugar (or more to taste, optional)
- 2 tsp paprika
- 1 tbsp vegetable oil
- 4 boneless, skinless chicken breasts, cut into bite-size pieces
- ½ tsp curry powder
Instructions
Prepare the ingredients.
- Gather all your ingredients and have them ready.
Cook the onions and spices.
- In a large skillet, heat the ghee over medium heat. Add the chopped onion and cook, stirring occasionally, for about 5 minutes until soft and translucent. Add the minced garlic and cook for another minute until fragrant.
Add the spices.
- Stir in the cumin, salt, ground ginger, cayenne pepper, cinnamon, and turmeric. Continue cooking for 2 minutes, allowing the spices to become fragrant and the flavors to meld together.
Simmer the sauce.
- Pour in the tomato sauce, bringing the mixture to a boil. Once boiling, reduce the heat and let it simmer for 10 minutes to deepen the flavor.
Add the cream and sweeten.
- Stir in the heavy cream, sugar, and paprika. Bring the sauce back to a simmer and cook for another 10-15 minutes, stirring frequently, until the sauce thickens to your liking.
Cook the chicken.
- In a separate skillet, heat the vegetable oil over medium heat. Add the chicken pieces and sprinkle with curry powder. Cook the chicken for about 3 minutes, stirring often, until lightly browned but still pink in the middle.
Combine the chicken and sauce.
- Transfer the seared chicken and its juices into the simmering sauce. Let it cook together for another 30 minutes, or until the chicken is fully cooked and tender. Adjust the salt and sugar to taste.
Serve and enjoy!
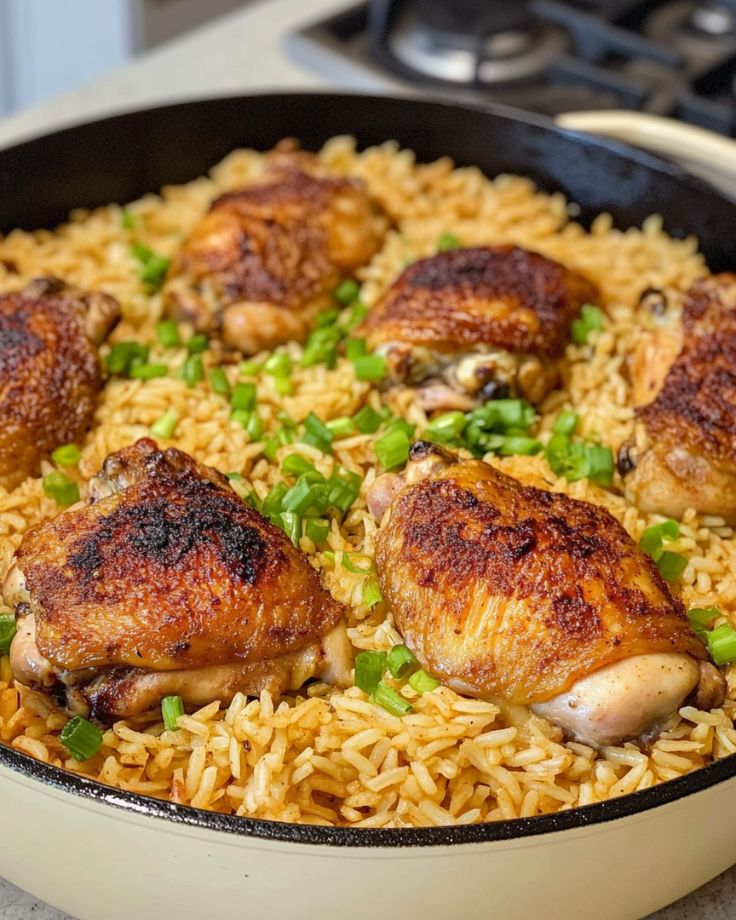
- Serve the chicken tikka masala over rice and enjoy your flavorful, comforting meal!

1. Can I skip marinating the chicken?
You sure can! Marinating the chicken brings extra flavor and tenderness, but if you’re short on time, you can skip it and still end up with a tasty dish. Just make sure to cook the chicken thoroughly before adding it to the sauce.
2. Can I use a lighter alternative to heavy cream?
Absolutely! If you want to lighten things up, swap heavy cream for coconut milk or a blend of milk and yogurt. It will still give you that creamy texture, but with a slightly different flavor—perfect for a lighter, yet indulgent, meal.
3. How can I adjust the spice level?
To dial down the heat, simply reduce the cayenne pepper. If you want to crank it up, feel free to add more, or toss in some fresh chilies for an extra kick. It’s all about what works for your tastebuds!
4. Can I prep the sauce in advance?
Yes, you can! Make the sauce ahead of time and store it in the fridge for up to 3 days. When you’re ready, just heat it up and cook your chicken. It’s a great time-saver for busy days!
5. Can I freeze the sauce?
Definitely! This sauce freezes beautifully, so feel free to make a big batch and store it for later. When you’re ready to use it, just thaw and reheat—it’s like having a homemade ready-to-go meal at your fingertips!