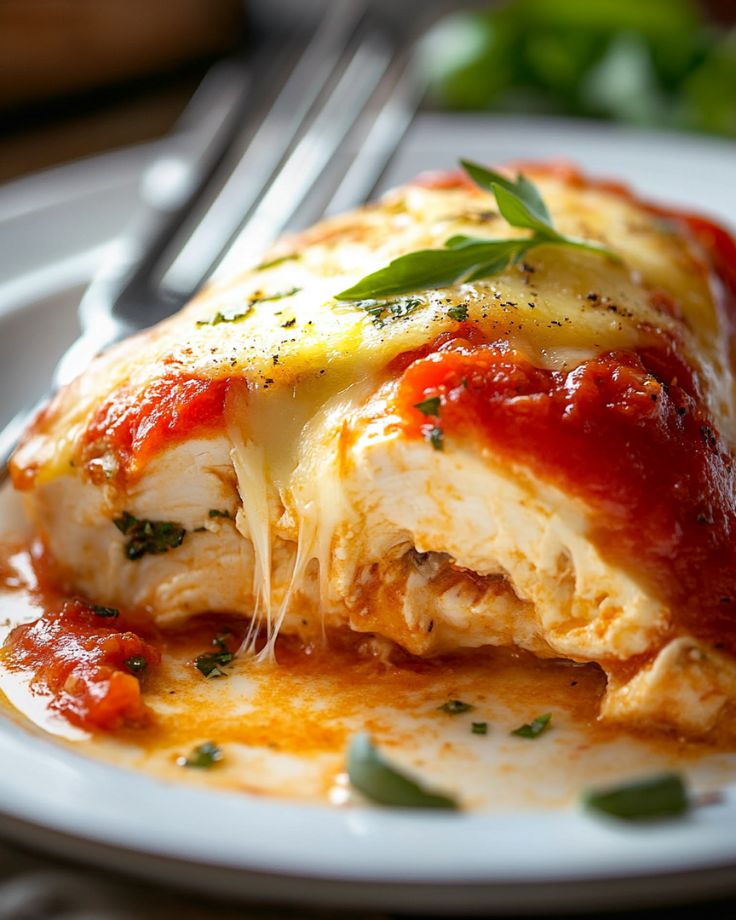
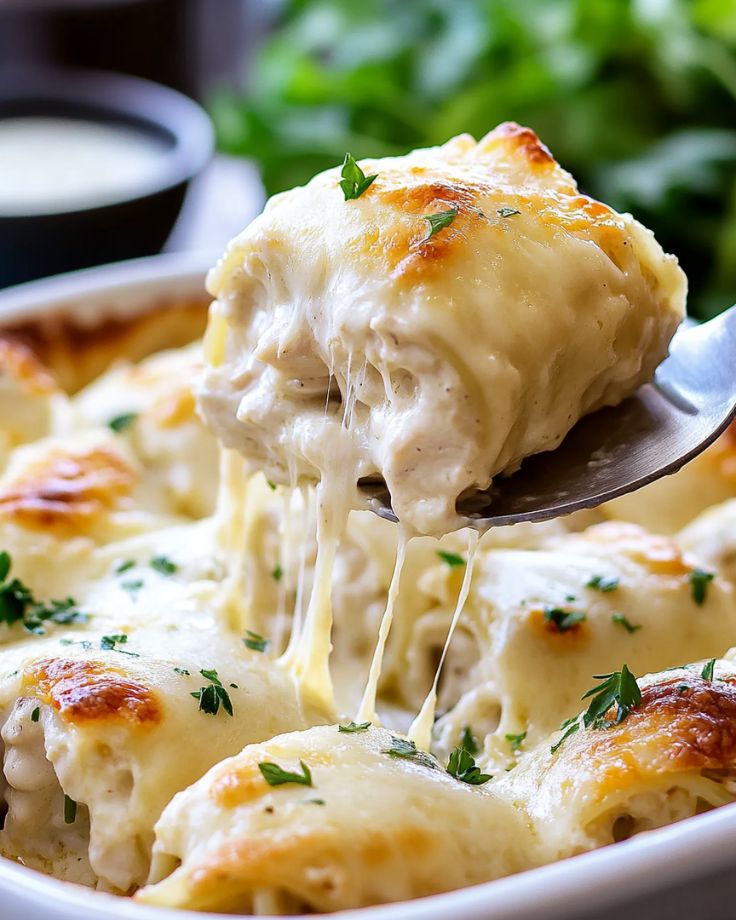
Lasagna… Without the Pasta?!

Who says you need noodles to enjoy lasagna?
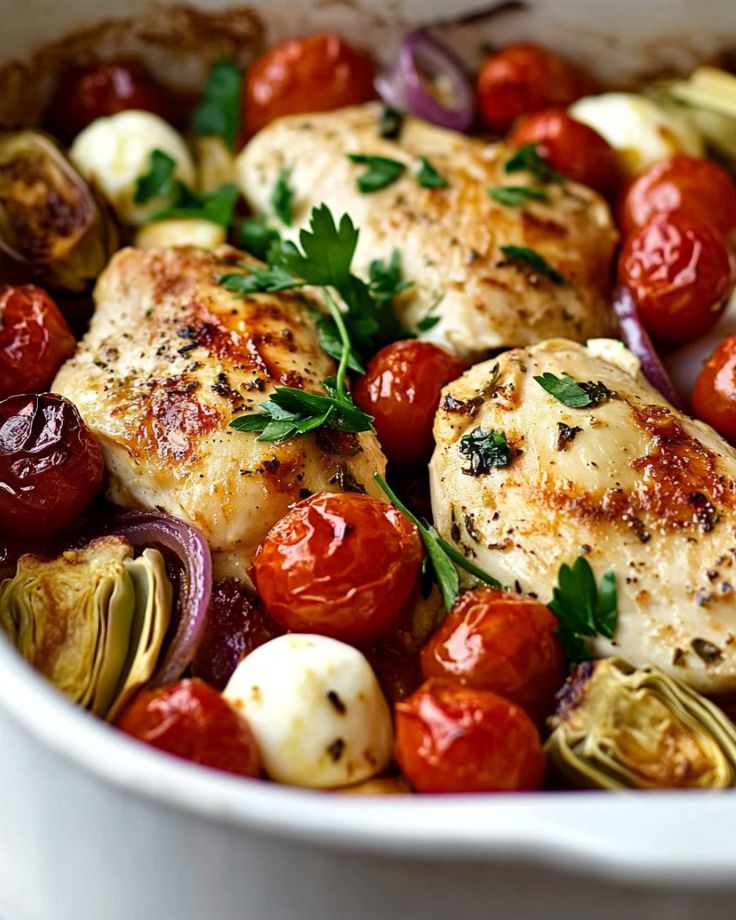
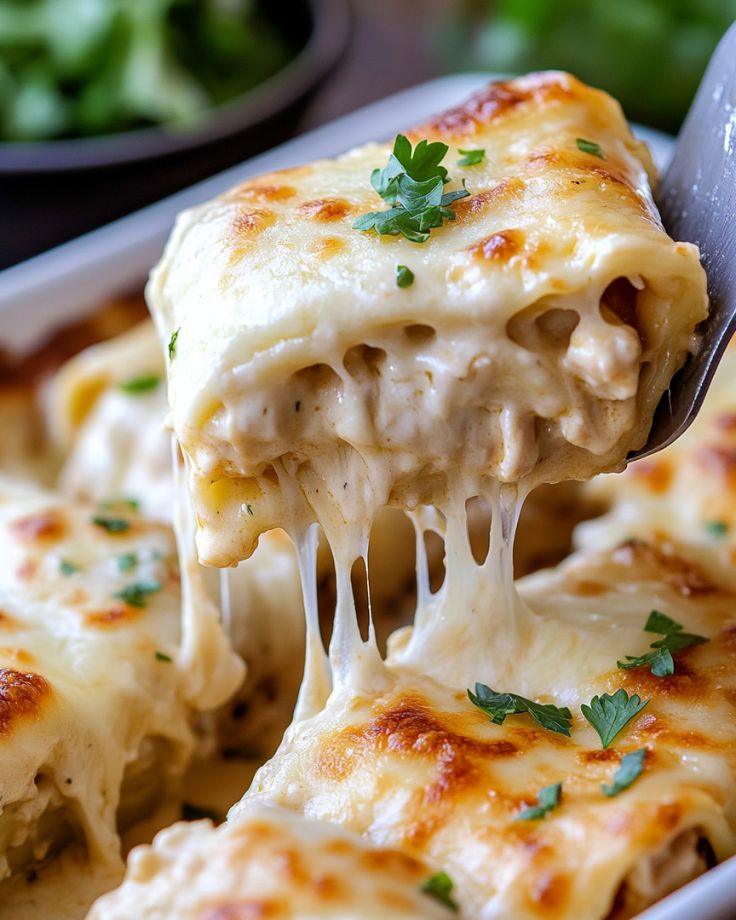
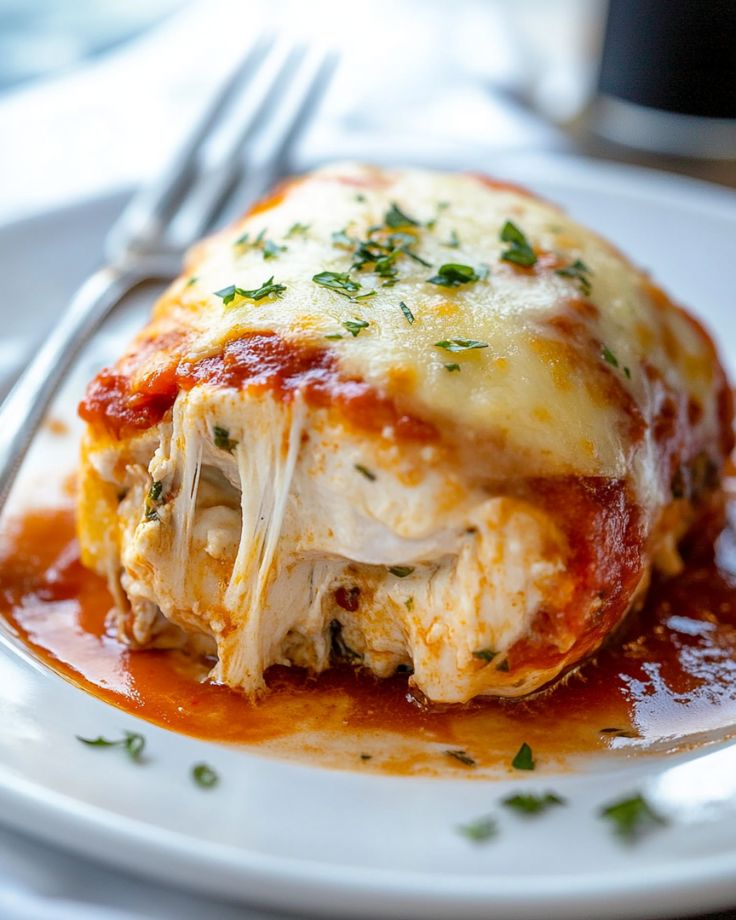
This Lasagna Stuffed Chicken is a game-changer—juicy chicken breasts packed with a creamy ricotta filling, smothered in marinara, and topped with melty cheese.
It’s low-carb, high-protein, and ridiculously delicious.
Whether you’re cutting carbs or just looking for a new dinner favorite, this dish brings all the best parts of lasagna—minus the heavy pasta.
One bite, and you’ll be hooked!
For the Chicken
- Chicken Breasts – Boneless, skinless, and perfect for stuffing with all the cheesy goodness.
- Marinara Sauce – Adds a rich, classic lasagna flavor.
- Italian Seasoning – A blend of herbs to enhance the taste.
- Olive Oil – Helps keep the chicken juicy while baking.
- Salt & Pepper – Simple seasonings to bring out all the flavors.
For the Ricotta Filling
- Ricotta Cheese – The creamy base of the stuffing.
- Mozzarella Cheese – Gives that gooey, melty texture we love.
- Parmesan Cheese – Adds a nutty, salty depth of flavor.
- Egg – Helps bind the cheese mixture together.
- Fresh Basil – Brings a fresh, herby kick to the filling.
For the Topping
- More Mozzarella – Because extra cheese is always a good idea!
- More Parmesan – For that final touch of savory richness.
- Fresh Basil – A garnish that makes it look and taste even better.
Lasagna Stuffed Chicken
Ingredients
- ¾ cup ricotta cheese
- 1¼ cups shredded mozzarella cheese, divided
- ¼ cup plus 2 tbsp freshly grated Parmesan cheese, divided
- 1 large egg
- 2 tbsp fresh basil, chopped (plus extra for garnish)
- Kosher salt and freshly ground black pepper, to taste
- 4 boneless, skinless chicken breasts (about 1 ¾ lbs)
- 1½ cup marinara sauce
- ½ tsp talian seasoning
- 1 tbsp extra-virgin olive oil
Instructions
Step 1: Prepare the Filling
- Preheat oven to 375°F (190°C). In a bowl, mix ricotta, ½ cup mozzarella, ¼ cup Parmesan, egg, and chopped basil. Season with salt and pepper.
Step 2: Stuff the Chicken
- Cut a pocket into each chicken breast. Spoon 2 tablespoons of marinara sauce and ¼ of the ricotta mixture into each pocket.
Step 3: Arrange and Season
- Place the stuffed chicken in a 9"x13" baking dish. Season with salt and pepper, sprinkle with Italian seasoning, and drizzle with olive oil.
Step 4: Bake the Chicken
- Bake for about 25 minutes, or until the internal temperature reaches 155°F (68°C). Larger chicken breasts may take up to 35 minutes. Remove any excess juices from the pan.
Step 5: Add Toppings & Broil
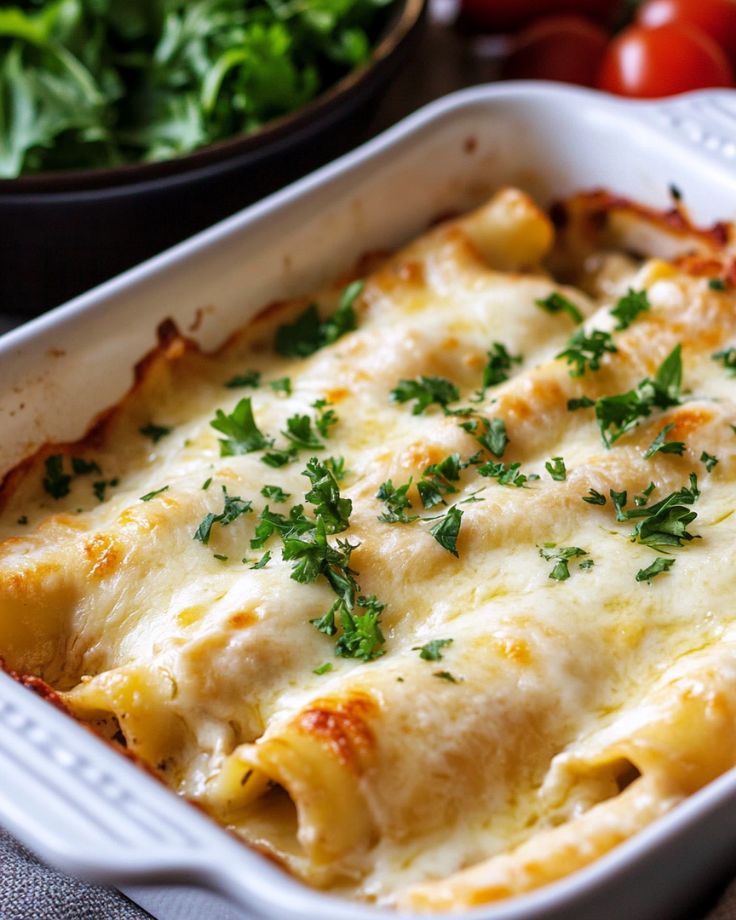
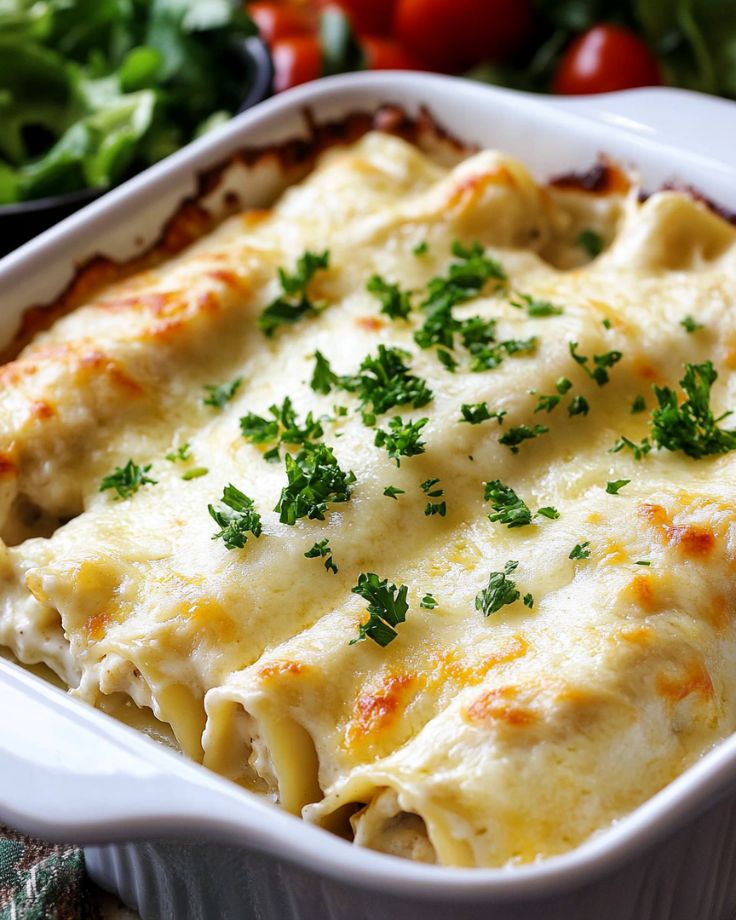
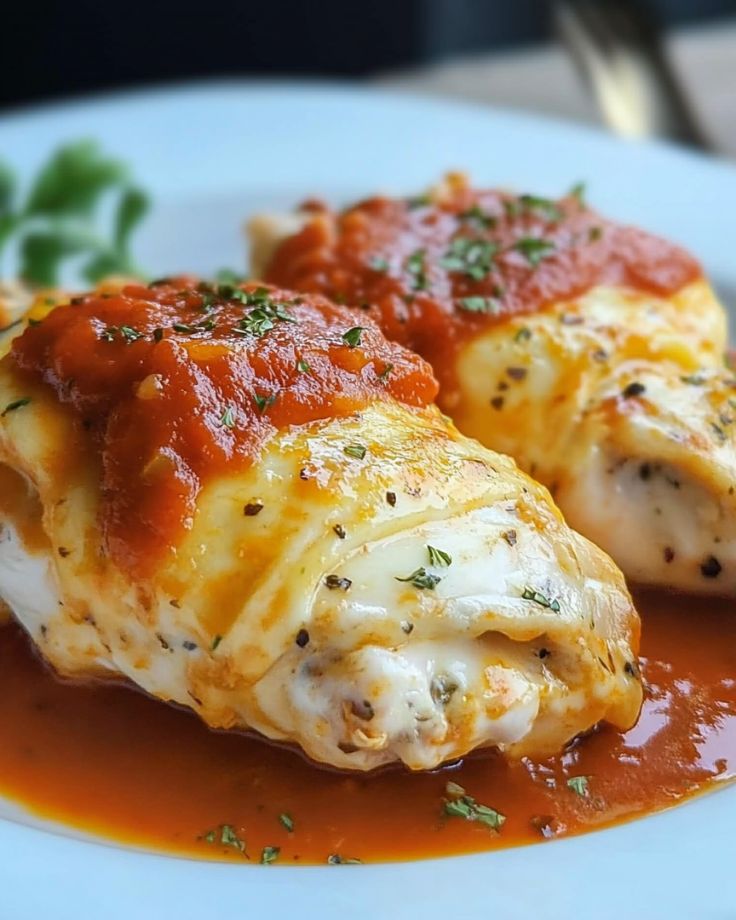
- Switch oven to broil. Top the chicken with the remaining 1 cup marinara, ¾ cup mozzarella, and 2 tablespoons Parmesan. Broil for 4-5 minutes, until the cheese is golden and bubbly and the chicken reaches 165°F (74°C).
Step 6: Garnish & Serve
- Sprinkle with additional fresh basil and serve hot.Enjoy your lasagna-stuffed chicken!
1. Can I prep the chicken ahead of time?
Absolutely! You can stuff the chicken breasts and store them in the fridge for up to 2 days. That way, when it’s time for dinner, all you need to do is pop them in the oven!
2. What if I don’t have fresh basil?
No problem! You can swap fresh basil with dried basil (about 2 teaspoons) or use any other herb you like, such as oregano or thyme. It’ll still taste amazing!
3. Can I use store-bought marinara sauce?
Yes, feel free to use your favorite jarred marinara sauce. It’s a great shortcut that will still give you that classic lasagna flavor without the hassle of homemade sauce.
4. How can I make this dish spicier?
If you like a little heat, you can add red pepper flakes or a pinch of cayenne pepper to the ricotta mixture or sprinkle it on top before baking. It’ll give your dish an extra kick!
5. Can I freeze the stuffed chicken?
Yes, you can! Assemble the chicken and freeze it before baking. Just wrap it tightly in plastic wrap or foil and store it in an airtight container. When you’re ready to cook, let it thaw in the fridge overnight, then bake as usual.