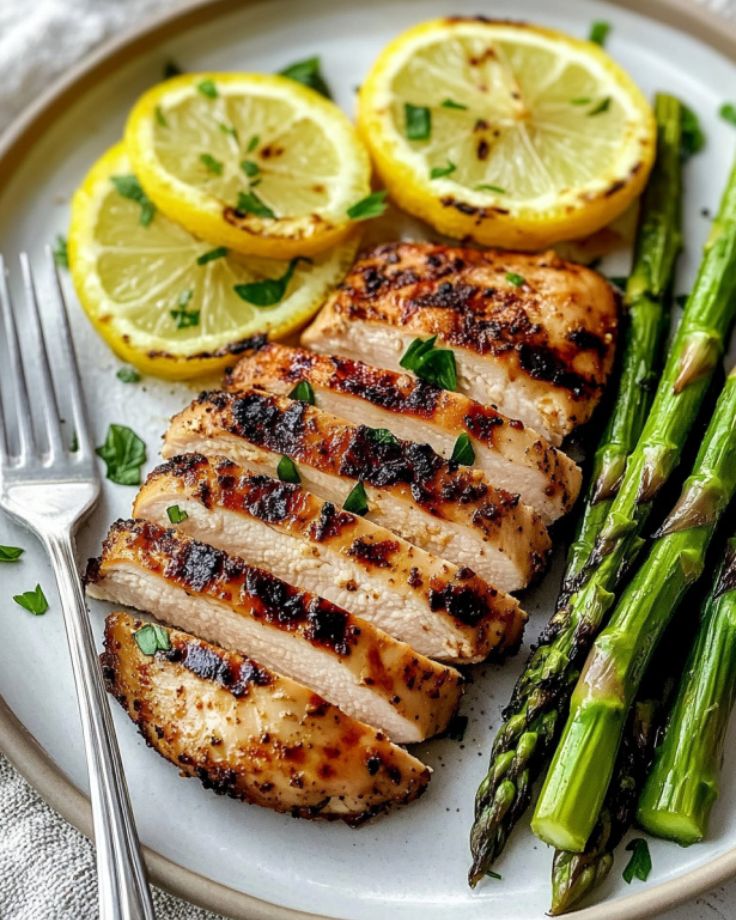
Lemon Herb Marinated Grilled Chicken
Looking for a quick and delicious chicken recipe that packs a punch?
This Lemon Herb Marinated Grilled Chicken is your answer!
With just a few simple ingredients, this bright, zesty marinade transforms chicken into a juicy, mouthwatering meal.
Whether you’re firing up the grill or cooking on the stovetop, this recipe is perfect for busy nights when you want something fast but packed with flavor!
Ready in just 1 hour and 15 minutes, you’ll be serving up a restaurant-quality dish in no time.

For Lemon Herb Marinated Grilled Chicken
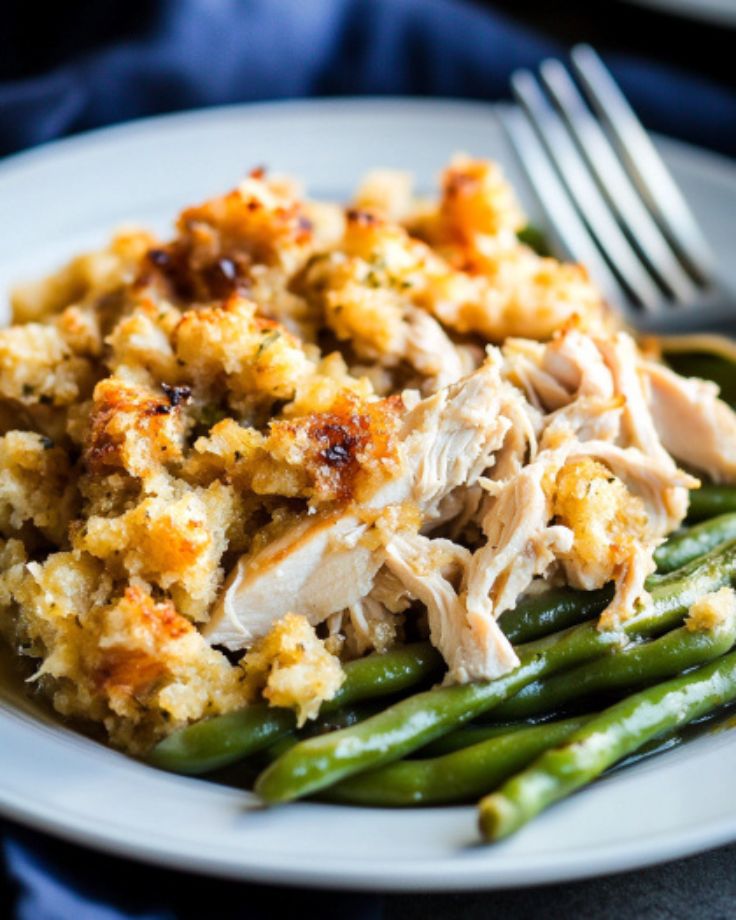
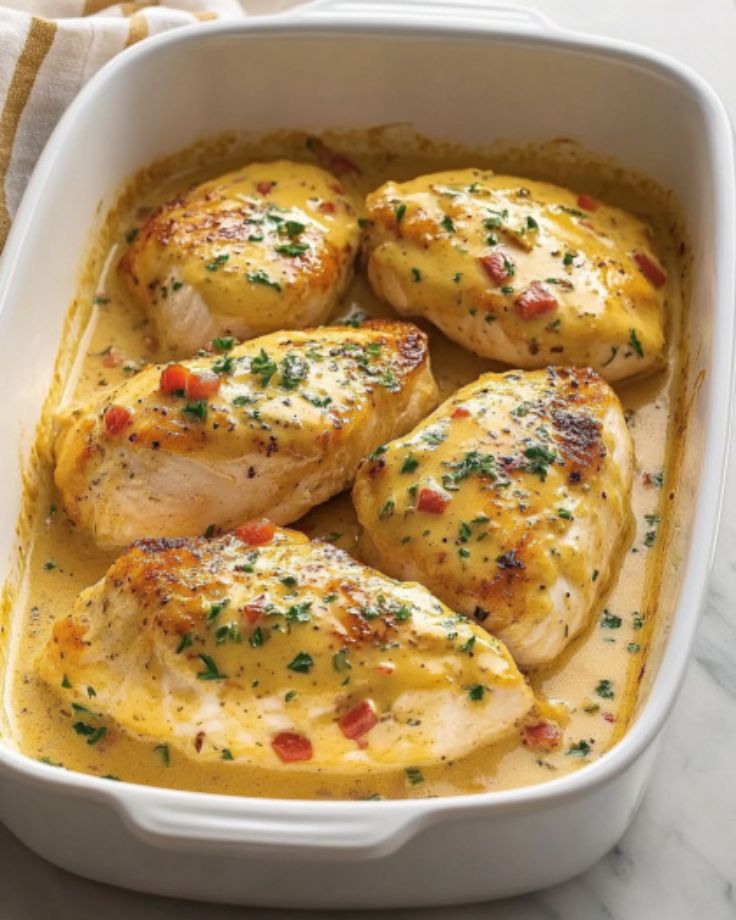
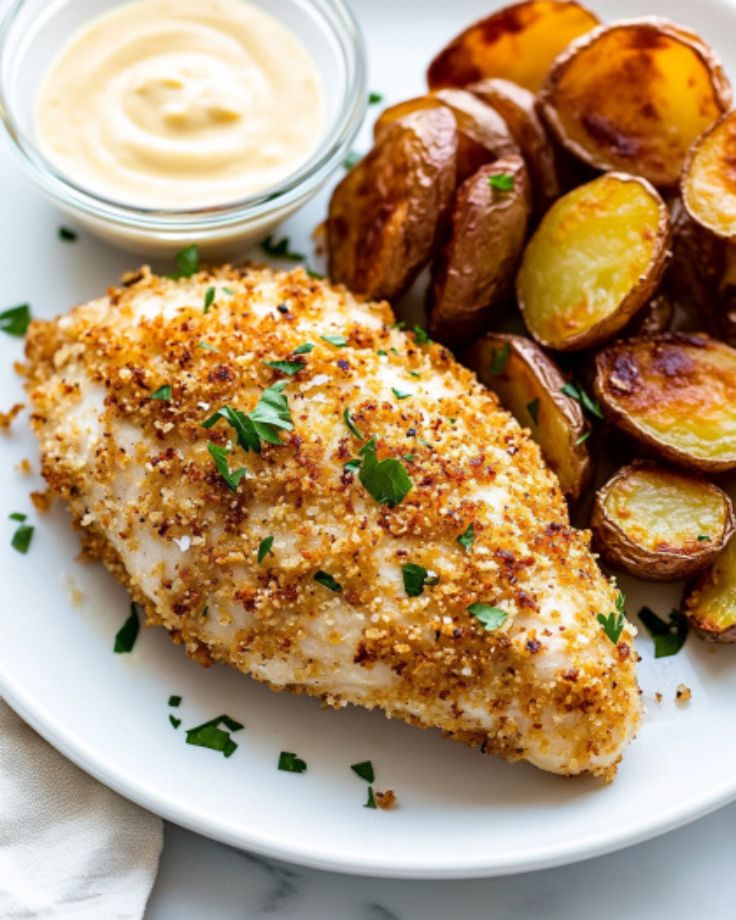
- Chicken Breasts – Boneless, skinless chicken breasts work best, but you can also use thighs if preferred.
- Extra Virgin Olive Oil – Adds richness and helps with marinating.
- Lemon Juice – Freshly squeezed lemon juice is key for that bright, zesty flavor.
- Dried Basil – For a mild, earthy flavor that complements the lemon.
- Dried Parsley – Adds a hint of freshness and color.
- Salt – To bring all the flavors together and enhance the seasoning.
- Black Pepper – For a mild, balanced heat.
- Garlic Powder – Adds savory depth and enhances the marinade.
- Onion Powder – A subtle flavor that complements the garlic.
- Crushed Red Pepper Flakes – For just a touch of heat to kick up the flavor.

Lemon Herb Marinated Grilled Chicken
Looking for a quick and flavorful chicken recipe that will wow your taste buds? This Lemon Herb Marinated Grilled Chicken is the perfect balance of tangy lemon, aromatic herbs, and tender chicken.
Ingredients
- 2 pounds of chicken breasts, trimmed
Lemon Herb Marinade:
- ¼ cup extra virgin olive oil
- ¼ cup fresh lemon juice
- 1 tbsp dried basil
- 1 tbsp dried parsley
- 1 tsp salt
- ½ tsp black pepper
- ½ tsp garlic powder
- ½ tsp onion powder
- ¼ tsp crushed red pepper flakes
Instructions
- Place the chicken breasts (or thighs) in a large gallon Ziploc bag. Add all the ingredients for the Lemon Herb Marinade. Seal the bag, pressing out any excess air. Let the chicken marinate in the refrigerator for at least 1 hour, up to 12 hours for maximum flavor.
- When ready to cook, you can either grill or sauté the chicken, depending on your preference. Below are the instructions for both methods.
Notes
Grilling Instructions:
- Preheat your grill to medium heat.
- Remove the chicken from the marinade and place it on the hot grill.
- Grill for 5–7 minutes on each side, or until fully cooked. If you're using bone-in chicken, the cooking time may be slightly longer. Chicken is done when the juices run clear.
Stovetop Instructions:
- Heat 2 tablespoons of olive oil in a skillet over medium-high heat.
- Once the oil is hot and starts to sizzle when the chicken is added, place the chicken breasts (or thighs) in the skillet.
- Cook for about 5 minutes on one side. Flip the chicken and cook for another 5 minutes. Again, bone-in chicken may take a little longer. The chicken is done when it is firm to the touch and the juices run clear.

- How long should I marinate the chicken for?
Marinate your chicken for at least 1 hour, but if you have the time, you can leave it for up to 12 hours for extra flavor. If you’re in a rush, even 30 minutes can make a difference! - Can I cook this chicken on the stovetop instead of grilling?
Absolutely! You can pan-sear the chicken in a hot skillet with a little olive oil. Cook the chicken for 5 minutes on each side until golden brown and cooked through. It’s a great option when you’re short on time! - Can I use bone-in chicken pieces?
Yes, you can! Bone-in chicken will take a little longer to cook—around 10-12 minutes per side on the grill or stovetop. Just make sure to check the internal temperature, which should be 165°F (74°C) for safe consumption. - Do I need to use fresh lemon juice?
Fresh lemon juice is best for that bright, zesty flavor, but if you’re in a pinch, bottled lemon juice will work too. Just be sure to use ¼ cup for the right balance of tang. - Can I adjust the seasoning in the marinade?
Definitely! If you prefer a spicier kick, feel free to add more crushed red pepper flakes or even a little cayenne pepper. You can also adjust the garlic powder and onion powder to suit your taste preferences.