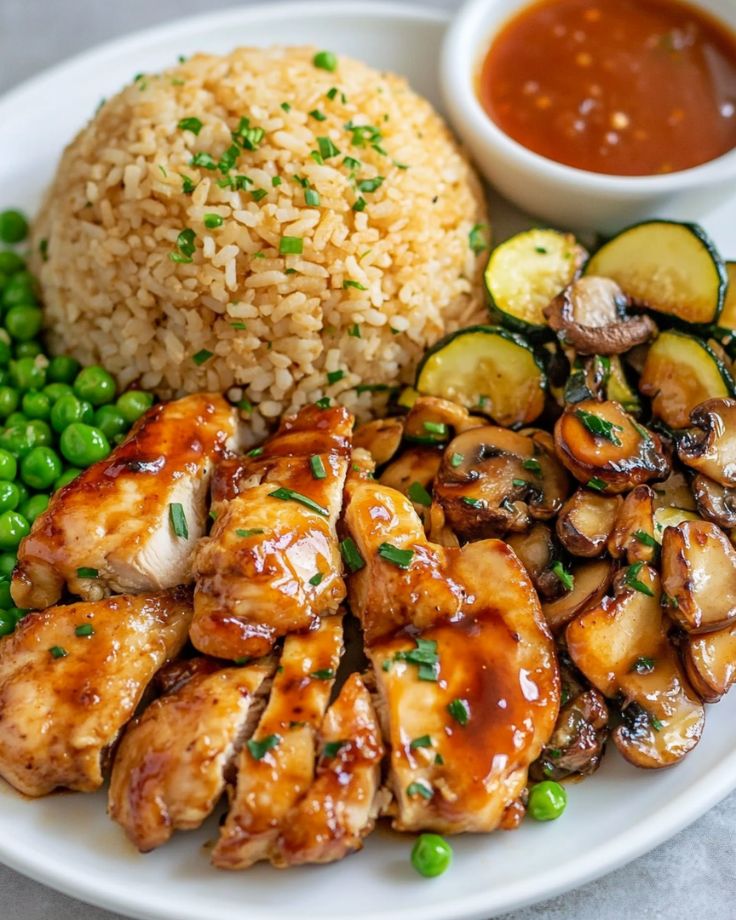
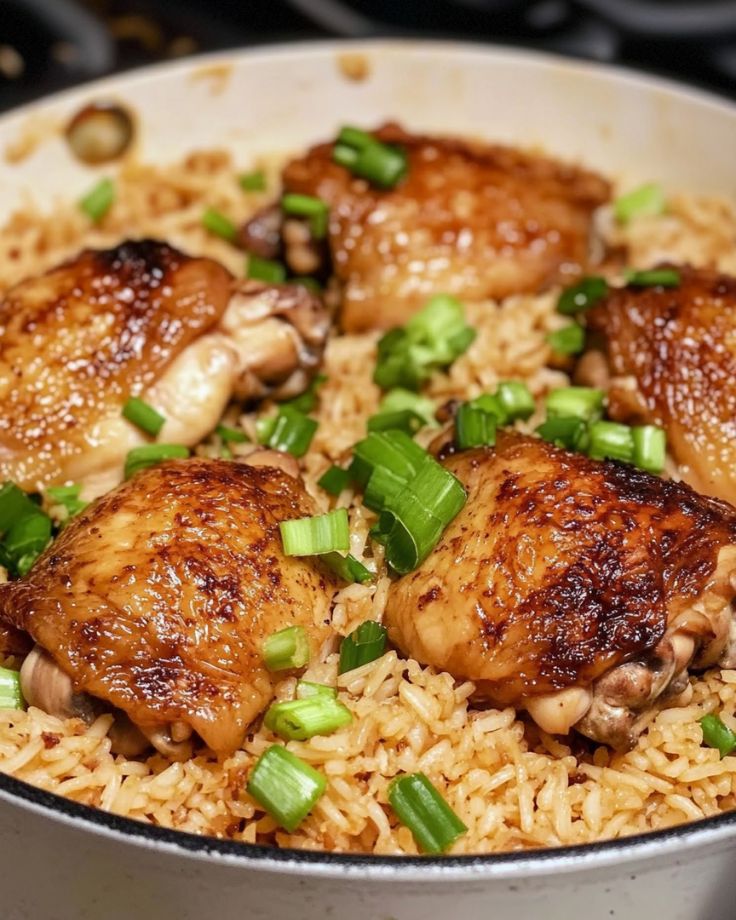
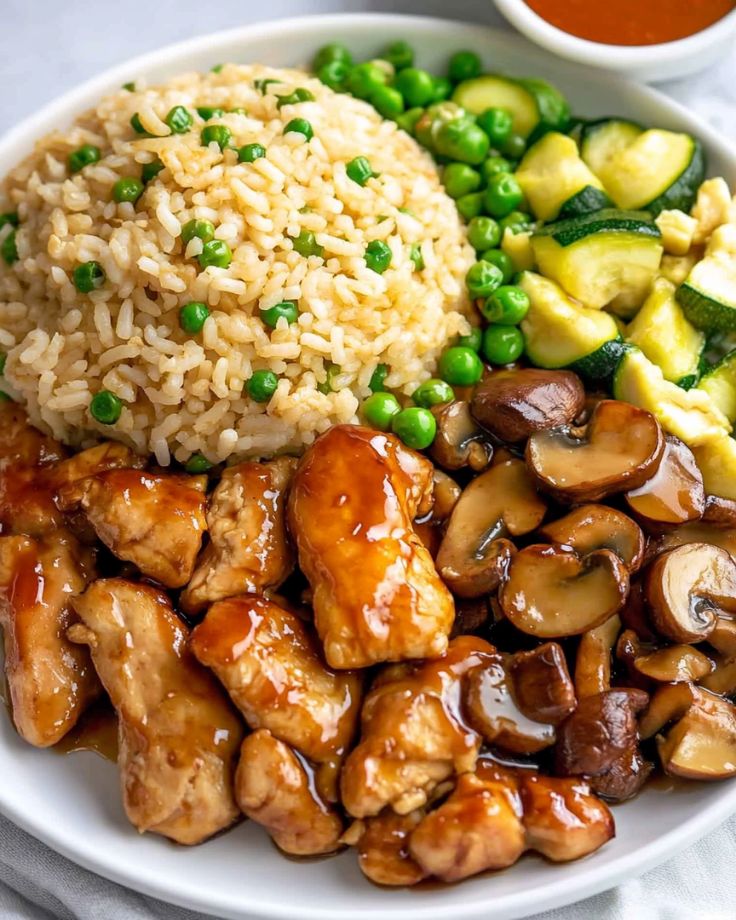
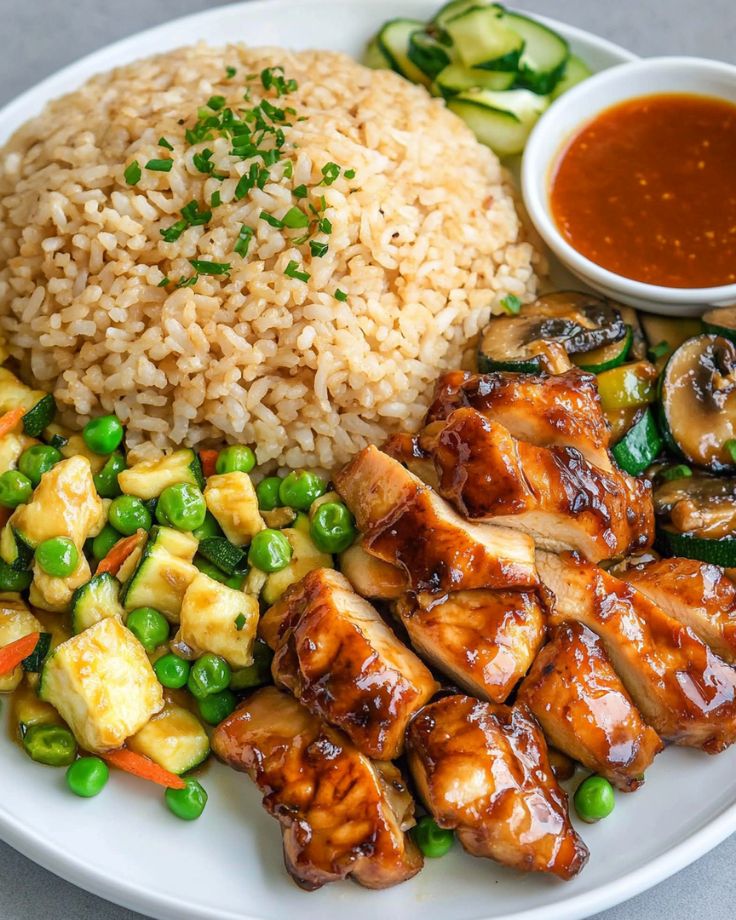
Hibachi Chicken (Benihana Copycat)
If you’re craving that sizzling, savory hibachi chicken from your favorite Japanese grill but don’t want to leave home, then you’re in for a treat!
This quick and easy recipe brings all the flavors you love from the Benihana grill right to your kitchen.
With tender chicken, flavorful fried rice, and perfectly sautéed veggies, it’s the ultimate weeknight dinner that feels just as special as dining out.
Ready to get cooking? Let’s turn up the heat!
For Hibachi Chicken
- Chicken – Boneless, skinless chicken breasts, diced. You can use chicken thighs if preferred for a juicier option.
- Sesame Oil – Used for flavor and cooking the chicken.
- Soy Sauce – For seasoning and adding saltiness to the chicken.
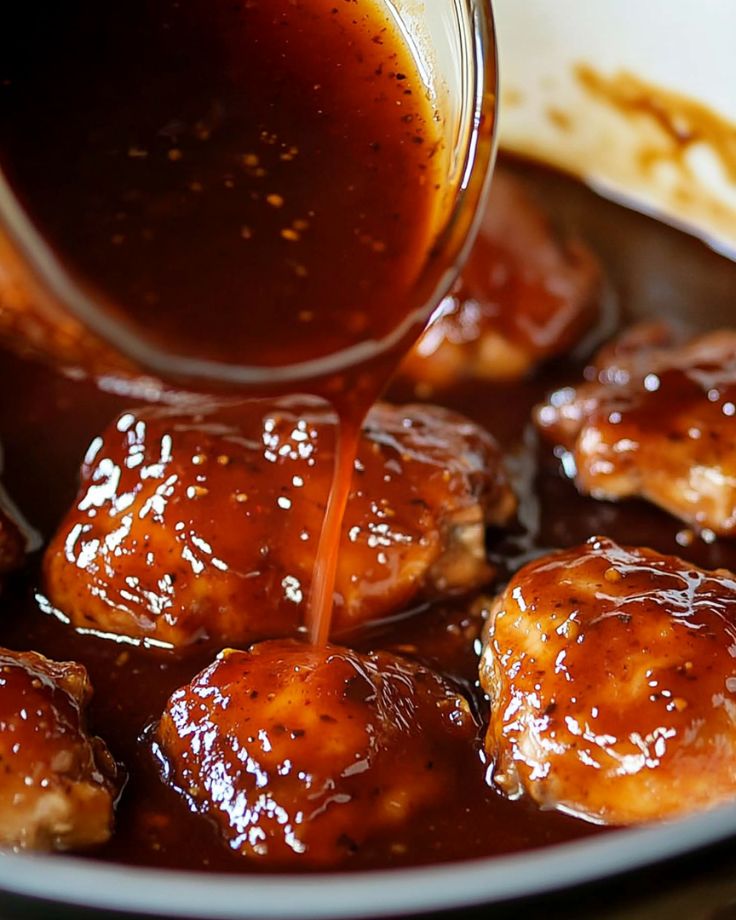
- Hoisin Sauce – Provides sweetness and depth of flavor to the sauce.
- Garlic – Freshly minced for a savory kick.
- Fresh Ginger – Adds a zesty, aromatic note to the dish.
For Mustard Sauce
- Light Mayo – Creates the creamy base for the sauce.
- Soy Sauce – Adds saltiness and umami.
- Rice Vinegar – For a slight tang to balance the creaminess.
- Dijon Mustard – Brings in a subtle heat and sharpness.
For Sautéed Vegetables
- Olive Oil – Used for sautéing the vegetables.
- Carrot – Thinly sliced for a mild sweetness.
- Mushrooms – Sliced in half for texture and flavor.
- Yellow Onion – Chopped for sweetness and depth.
- Zucchini – Chopped for freshness and lightness.
- Soy Sauce – For seasoning the vegetables.
- Salt and Pepper – To taste.
For Fried Rice
- Cooked White Rice – Ideally made ahead or using fresh rice.
- Butter – Adds richness to the rice.
- Garlic – Minced, for an extra savory punch.
- Soy Sauce – For seasoning the rice.
- Egg – Scrambled into the rice for texture and protein.
- Green Onions – Sliced for garnish and a mild onion flavor.
Hibachi Chicken (Benihana Copycat)
Ingredients
For the Hibachi Chicken
- 1 lb chicken breasts, diced
- 1 tbsp sesame oil
- 2 tbsp soy sauce
- 2 tbsp hoisin sauce
- 4 cloves garlic, minced
- 1 tsp fresh minced ginger
For the Mustard Sauce
- ½ cup light mayo
- 1 tbsp soy sauce
- 1 tbsp rice vinegar
- 1 tbsp Dijon mustard
For the Sautéed Vegetables
- 1 tbsp olive oil
- 1 carrot, thinly sliced
- 1 cup mushrooms, halved
- 1 yellow onion, chopped
- 1 zucchini, chopped
- 1 tbsp soy sauce
- Salt and pepper to taste
For the Fried Rice
- 2 cups cooked white rice
- 2 tbsp butter
- 4 cloves garlic, minced
- 3 tbsp soy sauce
- 1 egg
- 4 green onions, sliced
Instructions
Prepare the Chicken:
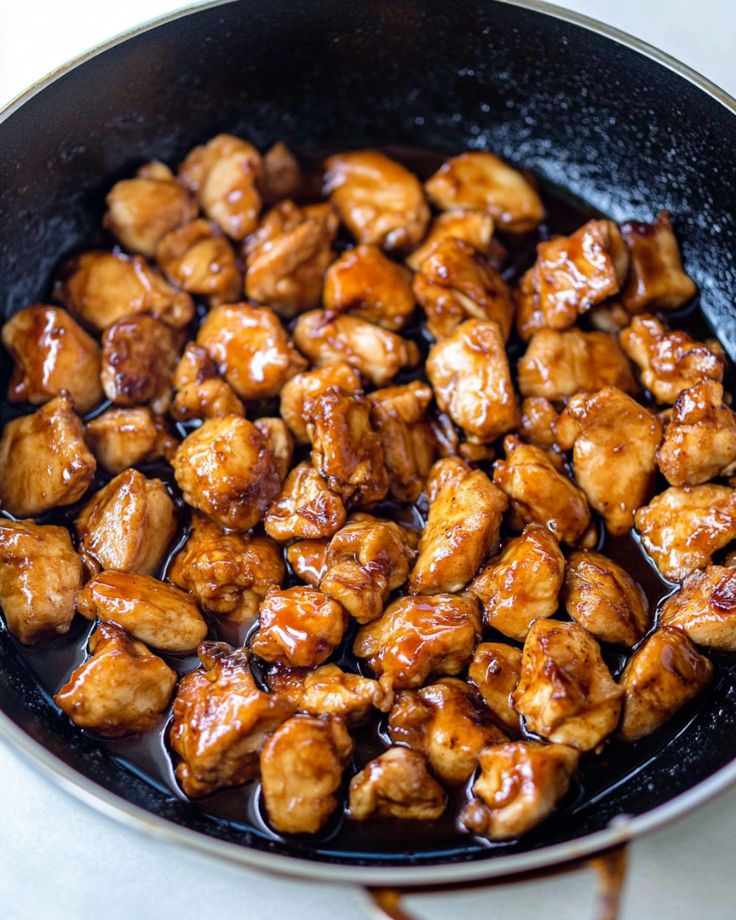
- In a small bowl, mix together the ingredients for the hibachi chicken. Pour the mixture over the diced chicken. Heat a large skillet over medium-high heat and cook the chicken with the sauce for about 10 minutes, stirring occasionally until fully cooked. Once done, remove the chicken from the pan and wipe the pan clean.
Cook the Rice:
- Prepare the rice either in a rice cooker or on the stovetop according to the package instructions. Alternatively, cook the rice ahead of time and store it in the fridge for up to 2 days. While the rice cooks, mix the mustard sauce ingredients together in a small bowl.
Sauté the Vegetables:
- In the same skillet, heat olive oil and add the sliced carrot, mushrooms, onion, and zucchini. Season with salt, pepper, and soy sauce. Cook for about 5 minutes until the vegetables are tender-crisp. Remove from heat and set aside.
Make the Fried Rice:
- Melt butter in the same pan. Sauté the garlic for about 30 seconds until fragrant. Add the cooked rice and soy sauce, cooking for 5 minutes until the rice is heated through. Create a small hole in the center of the rice, crack in an egg, and scramble until the egg is just set. Stir the rice to combine, then toss in the sliced green onions. Remove from heat.
Serve:
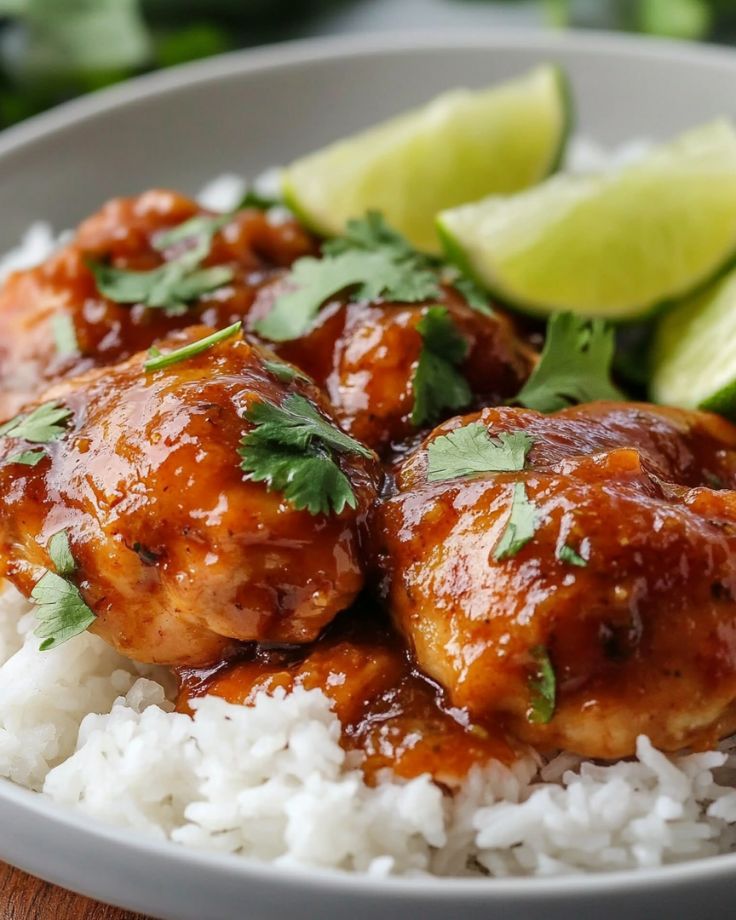
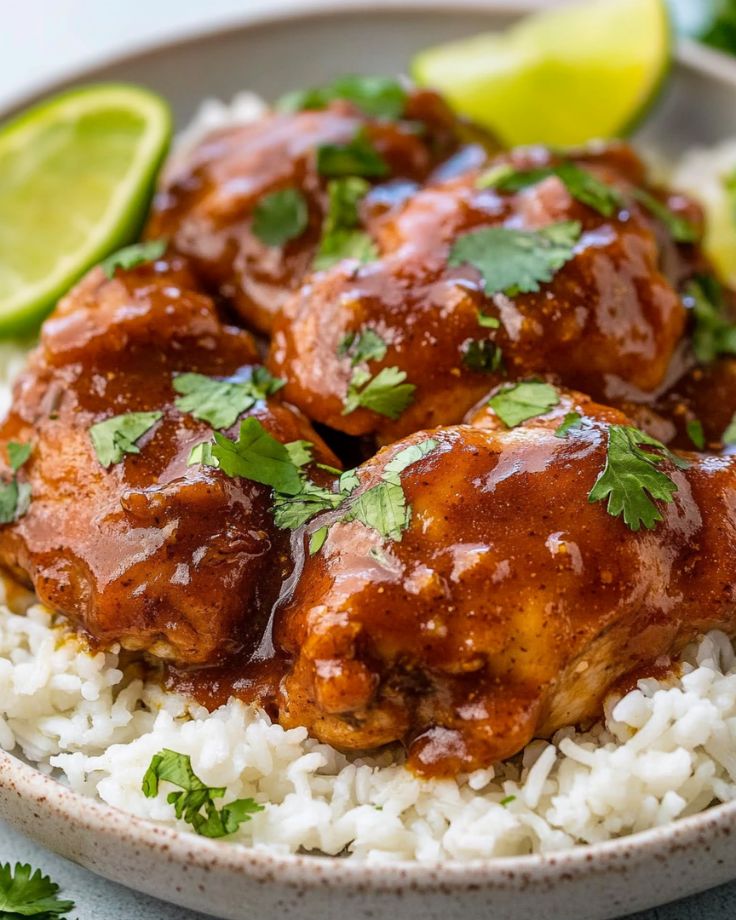
- Plate the rice, followed by the chicken and sautéed vegetables. Serve with the mustard sauce on the side, and enjoy!
Notes
- You can also serve this dish with ginger sauce or yum-yum sauce.
- Leftovers can be stored in the fridge for up to 5 days. Reheat in a pan on the stovetop or in the microwave.
- For longer storage, freeze the cooked chicken and fried rice for up to 3 months. To reheat, defrost in the fridge overnight and heat as normal.
- Can I use pre-cooked rice for the fried rice?
Absolutely! Pre-cooked or leftover rice works best for fried rice. Cold rice won’t get mushy when fried, giving you that perfect texture. If you’re using fresh rice, let it cool or spread it out to cool quickly.
- Can I substitute chicken breasts with thighs?
Yes, chicken thighs work beautifully in this recipe. They’re juicier and even more flavorful than chicken breasts, so feel free to use them if you prefer dark meat.
- Can I skip the marinating step?
Yes! Marinating isn’t essential for this recipe. The sauce you cook the chicken in provides plenty of flavor, so feel free to skip that extra step if you’re short on time.
- How can I chop vegetables faster?
Using a mandoline slicer or vegetable chopper can speed up your prep time. These tools help you get evenly cut vegetables in no time, making cooking faster and more consistent.
- Can I make the mustard sauce ahead of time?
Yes! You can mix the mustard sauce up to a few days in advance. Just store it in the fridge, and it’ll be ready to serve when you’re cooking dinner.